DIY Painted Rocks: Simple and Charming Decor
Bring a touch of whimsy and color to your garden or indoor spaces with these easy DIY painted rocks. Perfect for all ages and skill levels, this project is a fantastic way to use up rocks you find on walks or purchase from a garden center. Let's get started!
What You'll Need
- Smooth rocks (various sizes)
- Acrylic paints (various colors)
- Paintbrushes (various sizes – fine detail, medium, and large)
- Clear sealant (optional, for outdoor use)
- Newspaper or drop cloth
- Water container for rinsing brushes
Step-by-Step Instructions
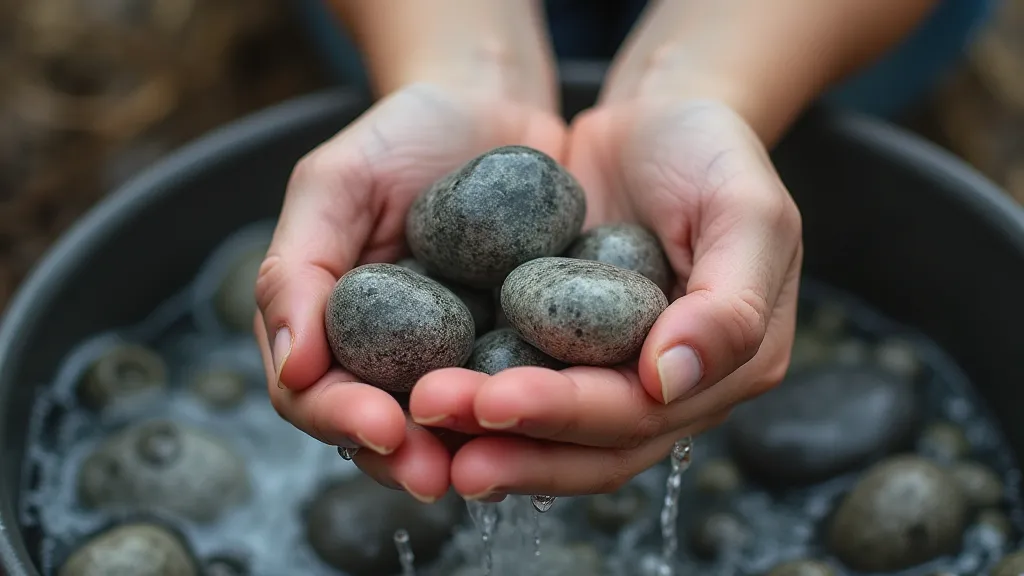
Step 1: Gather Your Rocks
Look for rocks that are relatively smooth and free of cracks. The smoother the rock, the easier it will be to paint. Rocks found in riverbeds or purchased from garden centers work well. Wash and dry the rocks thoroughly before you begin painting.
Step 2: Prepare Your Workspace
Cover your work surface with newspaper or a drop cloth to protect it from paint splatters. Set up your paints, brushes, and water container within easy reach.
Step 3: Base Coat (Optional)
If your rocks are dark in color, applying a base coat of white or a light color can help the other colors pop. Apply a thin, even coat of paint and let it dry completely before moving on to the next step.
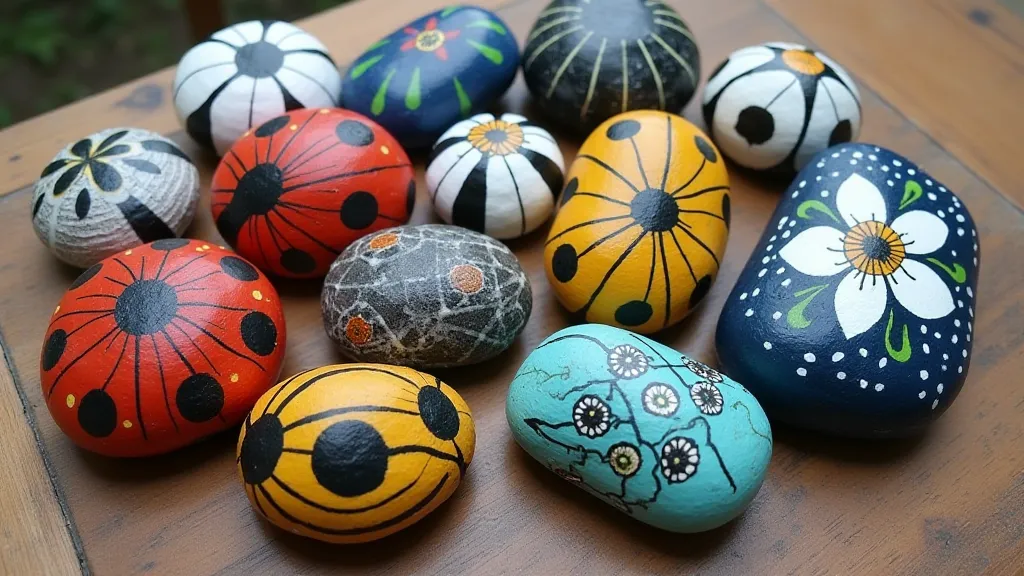
Step 4: Let Your Creativity Flow!
Now for the fun part! Use your acrylic paints to decorate your rocks. You can paint simple patterns, intricate designs, animals, flowers, or anything else that inspires you. Don't be afraid to experiment! A few ideas include:
- Animal Rocks: Paint ladybugs, bumblebees, owls, or turtles.
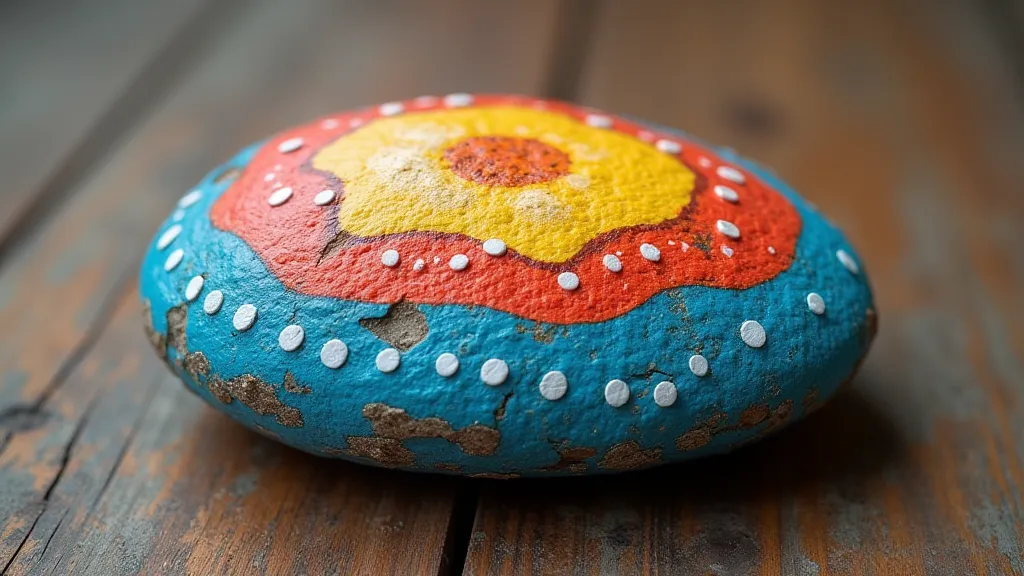
- Mandala Rocks: Create intricate mandala patterns.
- Floral Rocks: Paint colorful flowers and leaves.
- Quote Rocks: Add inspirational quotes or words.
Step 5: Allow to Dry
Let your painted rocks dry completely. This usually takes about 30-60 minutes depending on the thickness of the paint and the humidity of the air.
Step 6: Seal (Optional)
If you plan to display your painted rocks outdoors, sealing them with a clear sealant will help protect them from the elements and prevent the paint from chipping or fading. Follow the manufacturer's instructions on the sealant can.
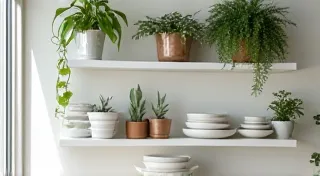
Displaying Your Painted Rocks
Once your painted rocks are dry and sealed (if desired), you can display them in a variety of ways:
- Garden Decor: Place them among your plants or along garden paths.
- Indoor Decor: Use them as decorative accents on shelves, mantels, or tabletops.
- Paperweights: Use them to hold down papers or other lightweight objects.
- Gifts: They make wonderful handmade gifts for friends and family.
Tips & Tricks
- For finer details, use a small, pointed brush.
- If you make a mistake, let the paint dry and then paint over it with the background color.
- Get inspired by nature – look at flowers, animals, and landscapes for ideas.
Have fun creating your own unique and charming painted rocks! This simple DIY project is a great way to add a personal touch to your home decor and express your creativity.