DIY Macrame Plant Hanger: Bring Bohemian Vibes to Your Home
Add a touch of bohemian style to your living space with this easy-to-follow macrame plant hanger tutorial. This project is perfect for beginners and requires minimal materials. Learn basic macrame knots and create a beautiful and functional piece of home decor that will showcase your favorite plants. Includes a complete materials list, detailed instructions, and helpful photos every step of the way.
Macrame has made a huge comeback, and for good reason! It's a relaxing craft that results in gorgeous, textural pieces. The satisfying process of knotting and creating something beautiful with your own hands is a fantastic stress reliever. This plant hanger is a fantastic entry point into the world of macrame – it’s relatively quick to make and the finished product adds so much personality to any room. And if you've been looking for ways to organize your space and add a personal touch, the possibilities with DIY projects are endless. Perhaps you've already crafted some DIY fabric storage bins to keep things tidy – macrame is just another wonderful step in the journey of creating a beautiful and functional home.
Materials You'll Need
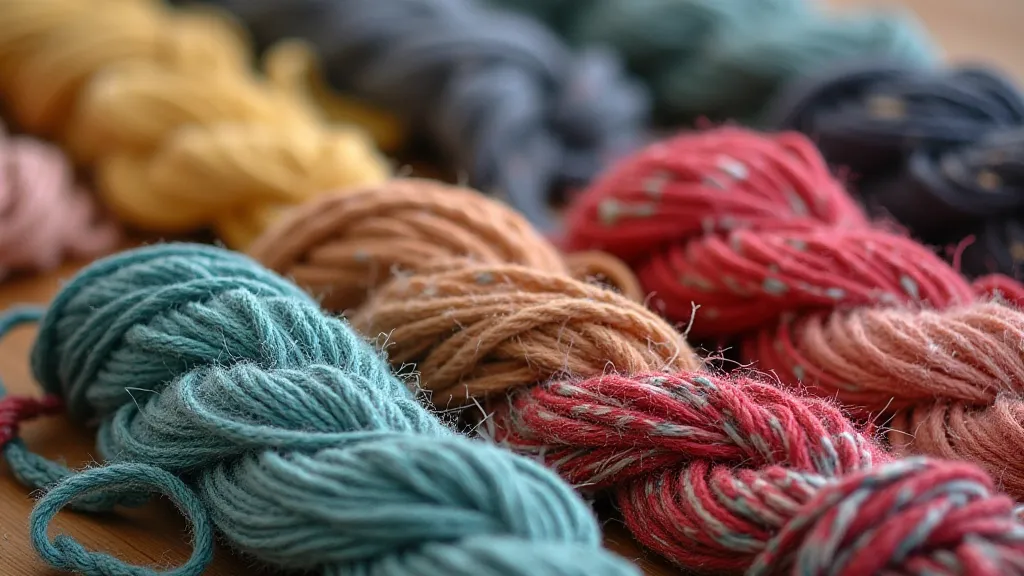
- Macrame Cord: Approximately 40-50 feet of 3mm or 4mm cord (cotton is popular, but jute works well too)
- Scissors
- Measuring Tape or Ruler
- Metal Ring (Optional): A 2-3 inch diameter ring for hanging
- Plant Pot & Plant: To ensure the hanger fits your pot.
Getting Started: Basic Macrame Knots
Before we begin, let's quickly review the knot we'll be using – the Square Knot. Don't worry, it's easier than it sounds!
- Cut four lengths of cord, each approximately 10 feet long.
- Fold the cords in half, creating a loop at the top.
- Place the loop over a hook or ring (if using) or simply hold it securely.
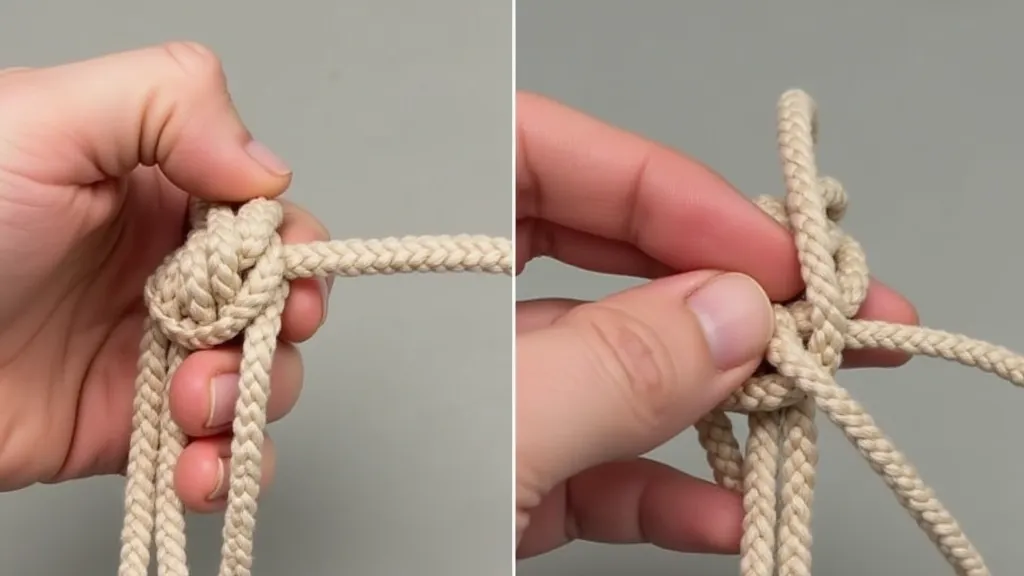
- To tie a Square Knot: Take the left cord over the two center cords and under the right cord. Then, take the right cord under the two center cords and over the left cord. Pull tight. This is half a square knot.
- Repeat the process, reversing the sides - left over center, under right. Pull tight. This completes the Square Knot.
Step-by-Step Instructions
- The First Layer: Tie all four cords together using a Square Knot, securing them to a ring or holding them firmly.
- Creating the "Basket": Divide the cords into two groups of two. Each group will form one side of the plant hanger. Tie a Square Knot about 4-6 inches from the top. Repeat this process, tying Square Knots at regular intervals (about 3-4 inches apart) down the cords.
- Forming the Diamond Shape: Now, begin connecting the two sides of the hanger. Take one cord from the left side and one cord from the right side. Tie a Square Knot. Repeat this process, connecting cords from opposite sides, until you're almost to the bottom of the hanger.
- Gathering and Finishing: Gather all the cords together and tie a final Square Knot below the "basket" portion of the hanger. This knot will form the base that holds the plant pot. Trim the excess cord to your desired length. You can leave the ends long and flowing, or trim them neatly. If you enjoy creating cozy, inviting spaces, you might also be drawn to projects like DIY mason jar lights, adding a warm glow to any room.
Tips and Variations
- Cord Thickness: Experiment with different cord thicknesses to achieve different looks. Thicker cord will create a sturdier and more rustic hanger.
- Color Combinations: Get creative with color! Use different colored cords to add visual interest.
- Beads: Incorporate beads into your macrame for extra embellishment.
- Pot Size: Before you start, measure the diameter of your plant pot to ensure the hanger will fit comfortably.
- Adding Texture: Try incorporating different textures by braiding or twisting some of the cords before adding them to the hanger. This can create a more dynamic and visually interesting piece.
- Embellishments: Don't be afraid to add extra details. Small wooden beads, feathers, or even fabric scraps can add a personalized touch.
- Repurposing Materials: Look around your home for materials you can repurpose. Old t-shirts can be cut into strips and used as cord, giving your hanger a unique and eco-friendly touch.
- Combining Techniques: While this tutorial focuses on the Square Knot, feel free to experiment with other macrame knots to add complexity and visual interest. There are countless online resources and videos to help you learn new techniques.
- Creating a Set: Once you’ve mastered the basic plant hanger, consider making a set in different sizes and styles. This can create a cohesive look for your indoor jungle.
Conclusion
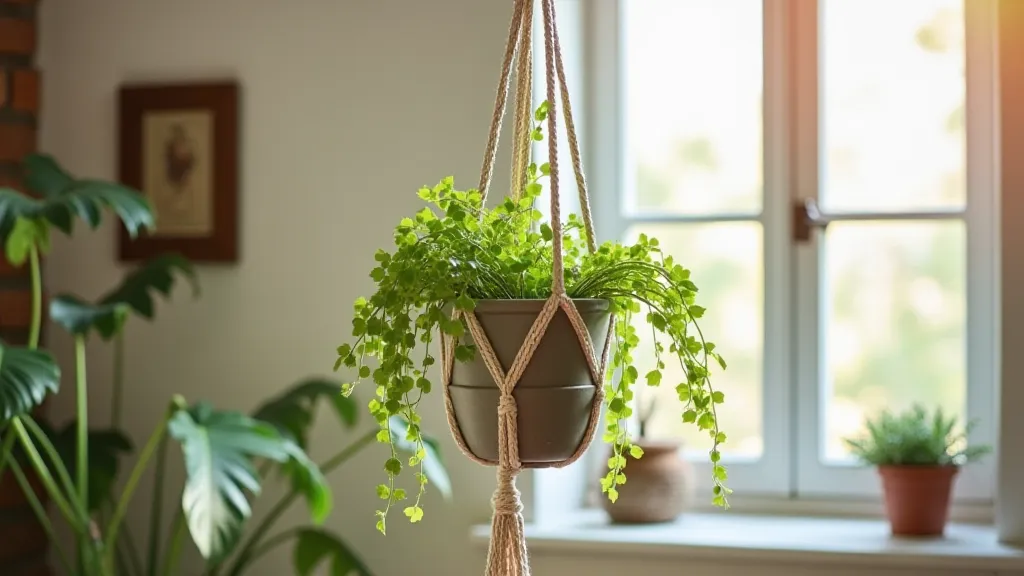
Congratulations! You’re now the proud owner of a beautiful, handmade macrame plant hanger. This project is a fantastic way to add a touch of bohemian charm to your home. Don’t be afraid to experiment and make it your own! Happy crafting! If you've enjoyed this project and are looking for other creative ways to enhance your living space, you might also be interested in DIY candle holders, creating a warm and inviting atmosphere.