DIY Decorative Throw Pillows: No-Sew Options!
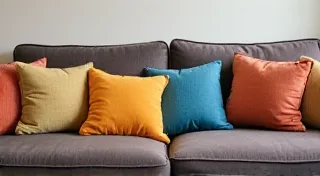
Add personality and comfort to your living room with these easy DIY throw pillows. Learn how to create stylish pillows without any sewing required!
Throw pillows are a simple way to refresh a room's style and add extra coziness. But buying new ones can be expensive! That’s why we’re sharing these fantastic no-sew options. Whether you're a seasoned DIYer or a complete beginner, these projects are totally achievable. Adding these handmade pillows can really enhance the overall aesthetic of your space, just like crafting unique planters from recycled materials – a project that embraces a similar rustic charm, as seen in DIY Upcycled Tin Can Planters: A Rustic DIY. Let's get started!
What You'll Need (Materials List)
- Pillow Forms: Choose your desired size and shape (square, rectangular, round).
- Fabric: This is where your creativity shines! Think fleece, faux fur, burlap, felt, or even repurposed fabrics like old sweaters or blankets. The possibilities are endless, much like the freedom you experience when embracing imperfection in home decor, a concept explored in Fractured Symmetry: Embracing Imperfection in a Curated Home.
- Scissors: Sharp scissors are key for clean cuts.
- Double-Sided Fabric Tape or Fabric Glue: This will hold your fabrics in place.
- Decorative Elements (Optional): Think pom-poms, tassels, ribbon, buttons, lace, rope - anything that adds flair!
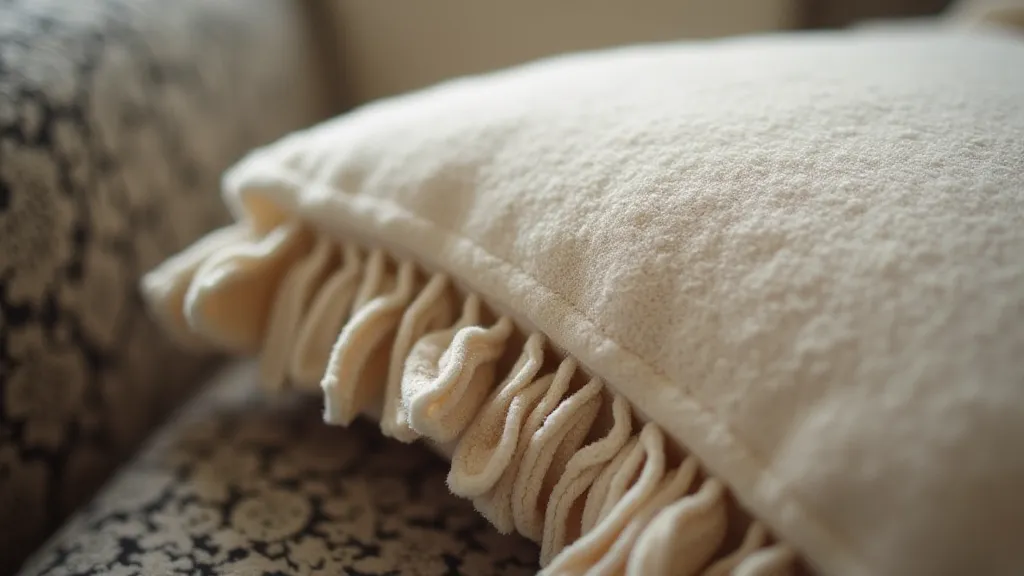
Project 1: The Fleece Tie Pillow
This is probably the easiest no-sew pillow you're ever going to make! It’s perfect for a cozy, relaxed vibe.
- Cut the Fabric: Cut two identical squares or rectangles of fleece fabric. A good starting size is 18x18 inches.
- Tie the Edges: Place the two fabric pieces together, wrong sides facing each other. Cut 1-inch wide strips around all four edges, stopping about 2 inches from the corners.
- Tying Time: Tie the top layer of fabric to the bottom layer, creating a fringe around the entire pillow. Tie the strips together in a simple overhand knot.
- Insert Pillow Form: Push the pillow form inside the tied edges.
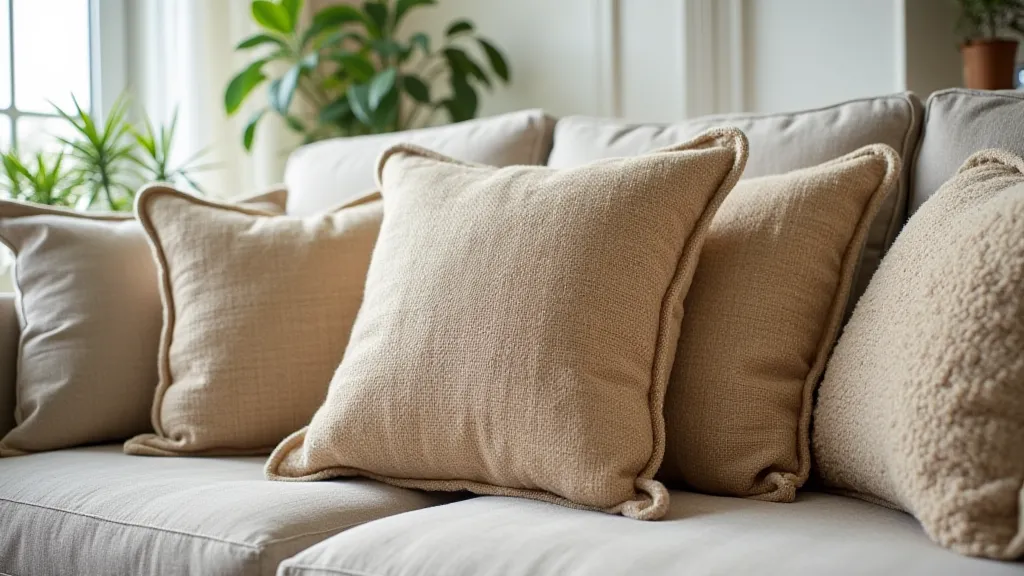
Project 2: The Burlap & Ribbon Pillow
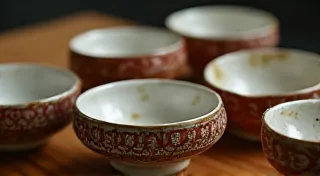
This project uses burlap for a rustic charm, paired with the elegance of ribbon. A beautiful contrast for any room. The overall aesthetic leans towards a handcrafted feel, similar to creating unique decorative bowls from unexpected materials – a theme explored in DIY Decorative Bowls: A Creative Upcycling Project. Think about the joy of transforming something ordinary into something beautiful; that same principle applies to these no-sew pillows.
- Cut the Burlap: Cut two squares or rectangles of burlap to your desired size, adding 1-2 inches for a border.
- Create the Border: Fold the edges of one burlap piece inward about 1/2 inch. Secure with double-sided fabric tape or fabric glue.
- Attach the Ribbon: Cut a length of ribbon (or multiple lengths to create a pattern) long enough to wrap around the pillow. Glue the ribbon onto the folded burlap border.
- Assemble the Pillow: Place the ribbon-decorated burlap piece face down. Place the second burlap piece on top, creating a sandwich. Secure the edges with fabric tape or glue.
- Insert Pillow Form: Gently push the pillow form inside.
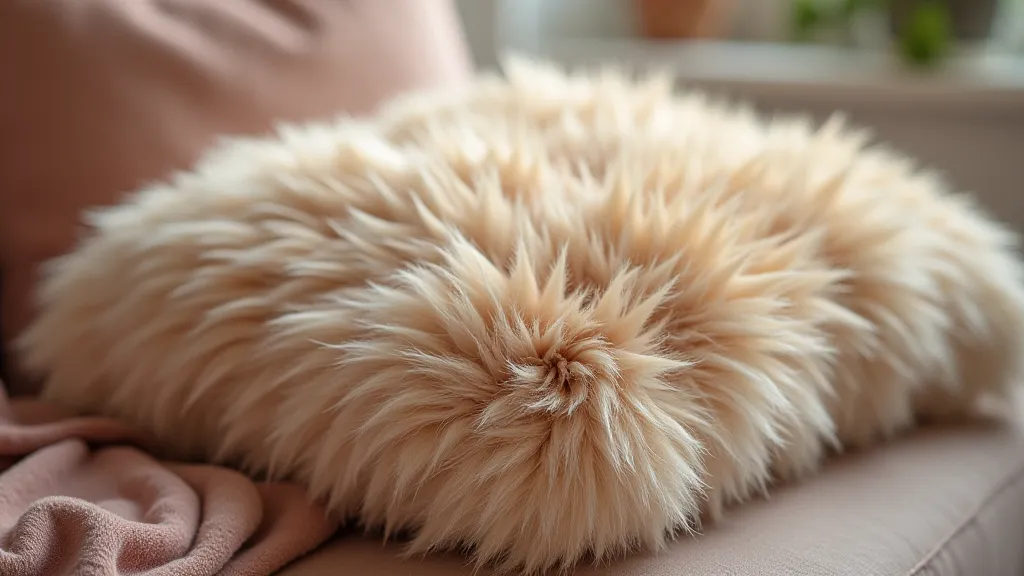
Project 3: The Faux Fur Accent Pillow
Add a touch of luxury with a faux fur pillow! It’s surprisingly easy to create a dramatic, textured accent. Consider incorporating warm lighting to highlight the luxurious texture, a simple touch that can transform any space, much like the glow emitted from creatively repurposed mason jar lights - a detail showcased in DIY Mason Jar Lights: A Rustic & Charming Decor.
- Cut the Fabric: Cut two squares or rectangles of faux fur fabric. Because faux fur can be tricky to work with, cut slightly larger than your desired finished size (about 1-2 inches extra on each side).
- Trim the Edges: Carefully trim the edges of the faux fur so they are even. This will help prevent shedding.
- Secure the Edges: Apply generous amounts of fabric glue to the edges of one piece of faux fur.
- Assemble and Glue: Place the second piece of faux fur on top, pressing firmly to bond the edges. Let the glue dry completely.
- Insert Pillow Form: Push the pillow form inside.
Tips and Tricks for No-Sew Pillow Success
Creating no-sew pillows is a truly accessible DIY project, but a few extra tips can really elevate your results. First, fabric choice is crucial. Thicker fabrics like felt or fleece are easier to work with than thinner materials, as they hold their shape better and require less glue or tape. When working with burlap, consider lightly sanding the edges to reduce fraying and make gluing easier.
For a more durable finish, use a fabric glue specifically designed for heavier materials. Read the glue's instructions carefully regarding drying time – allowing ample time for the glue to fully set will prevent your pillows from coming apart. Don't be afraid to experiment with different glue application techniques, such as using a small paintbrush for precise placement or using masking tape to create clean edges.
If you’re working with patterned fabrics, pay close attention to pattern placement. Ensure that the patterns align properly when assembling the pillows to create a cohesive look. For a layered effect, consider combining different fabrics with contrasting textures and colors. For instance, you could layer a piece of burlap over a piece of felt to create a rustic yet refined pillow.
Expanding Your No-Sew Decor Projects
Once you’re comfortable with these basic no-sew pillow projects, you can explore a wide range of other no-sew decor ideas. Consider creating no-sew blankets, wall hangings, or even curtains. The possibilities are truly endless! Remember that crafting is all about experimentation and having fun.
Think about repurposing old clothing items like sweaters or t-shirts to create unique and personalized pillows. You could even cut out shapes from these fabrics and glue them onto a pillow form to create a whimsical design. The key is to let your creativity flow and don't be afraid to try new things.
No-sew projects are a great way to reduce textile waste and create sustainable decor items for your home. By using repurposed materials and avoiding the need for sewing, you can minimize your environmental impact and create beautiful, one-of-a-kind pieces that reflect your personal style. These projects also offer a low-barrier entry point into the world of DIY, encouraging creativity and a sense of accomplishment for makers of all skill levels.
Getting Inspired and Sharing Your Creations
There's a wealth of inspiration online for no-sew decor projects. Websites like Pinterest and Instagram are great resources for finding new ideas and connecting with other DIY enthusiasts. Don't hesitate to experiment and put your own unique spin on these projects!
Once you're proud of your creations, share them with the world! Post pictures of your pillows on social media, tag friends who might be interested, and inspire others to embrace their creativity. DIY is a collaborative effort, and sharing your ideas can help to build a supportive community of makers.
These no-sew throw pillow projects are a fantastic way to personalize your home without needing any special equipment or skills. Have fun experimenting with different fabrics and embellishments! Happy crafting!