DIY Decorative Bowls: A Creative Upcycling Project
Give old bowls a new lease on life with these easy decorating techniques. From decoupage to mosaic, find inspiration for creating unique home accents.
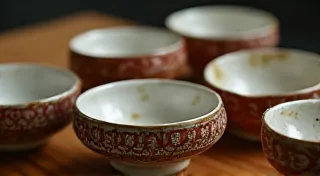
Do you have a collection of mismatched bowls gathering dust? Don't toss them! They're ripe for a fun and creative upcycling project. Transforming everyday items into beautiful home decor is what DIY is all about, and decorating bowls is surprisingly easy – even for beginners. This article will guide you through several techniques to give your bowls a stunning makeover.
Why Upcycle Bowls?
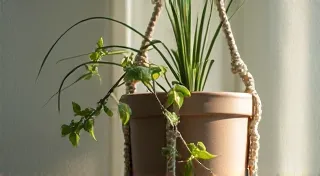
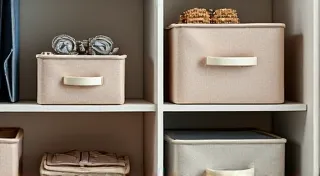
Upcycling is a fantastic way to reduce waste, save money, and add a personal touch to your home. Decorative bowls can be used as catch-all trays for keys and mail, stylish additions to a centerpiece, or even as unique planters for small succulents. They add charm and character to any room.
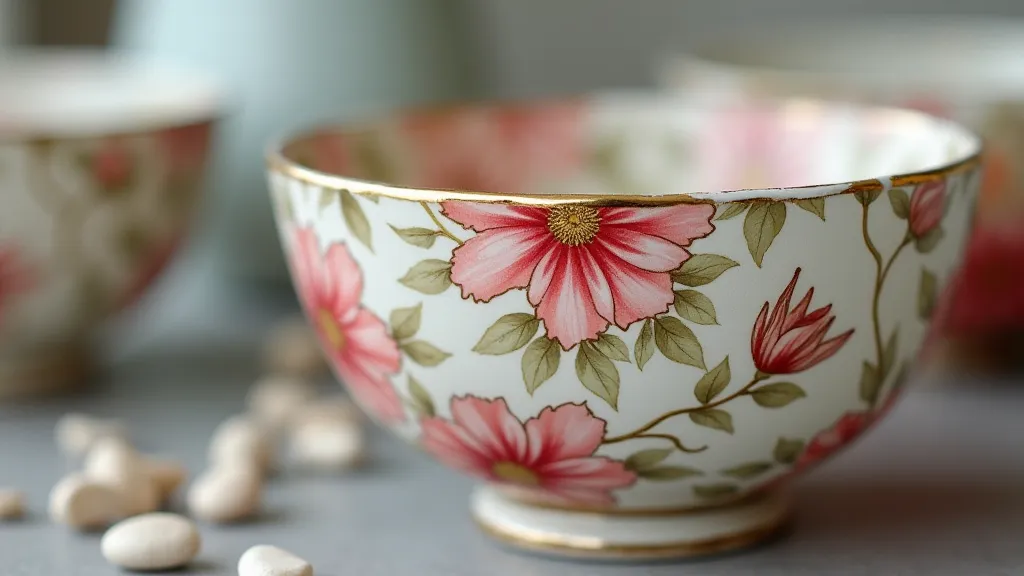
Project 1: Decoupage Bowls - Vintage Charm
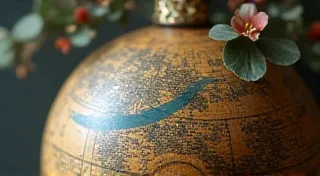
Decoupage is a classic technique that involves gluing paper cutouts onto a surface and sealing them with varnish. This method is perfect for achieving a vintage or eclectic look.
Materials You'll Need:
- Old Bowls (ceramic, glass, or plastic – make sure they're clean)
- Decoupage Paper (scrapbook paper, napkins, tissue paper, vintage book pages)
- Mod Podge (or other decoupage glue)
- Paintbrush
- Scissors
- Sealer (optional)
Instructions:
- Tear or cut your decoupage paper into desired shapes and sizes. Experiment with layering for a more complex design.
- Apply a thin layer of Mod Podge to the bowl.
- Carefully place your paper cutouts onto the glued surface, smoothing out any air bubbles.
- Apply another layer of Mod Podge over the paper, sealing it in place.
- Allow to dry completely. Apply multiple coats of Mod Podge, allowing each to dry before applying the next, for a durable finish.
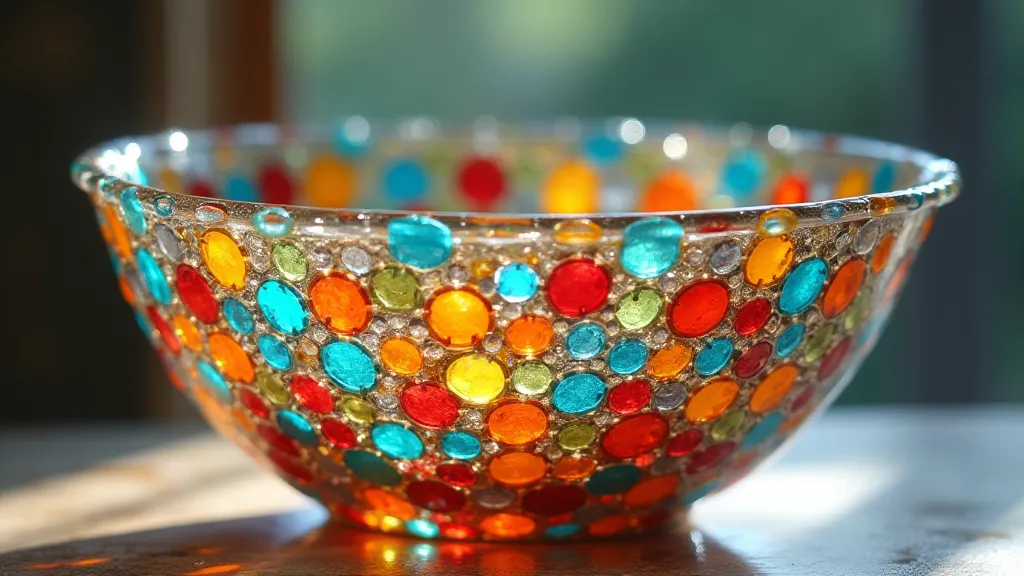
Project 2: Mosaic Bowl – A Colorful Creation
Mosaic bowls offer a vibrant and textured aesthetic. This project involves gluing small pieces of tile, glass, or even broken pottery onto the bowl's surface.
Materials You'll Need:
- Old Bowls
- Mosaic Tiles (or broken pieces of glass/pottery)
- Tile Adhesive
- Grout
- Spreader
- Safety Glasses
Instructions:
- Ensure the bowl surface is clean and dry.
- Apply tile adhesive to a small area of the bowl.
- Carefully place your mosaic tiles onto the adhesive, leaving small gaps between them.
- Continue applying adhesive and placing tiles until the entire bowl is covered.
- Allow the adhesive to dry completely.
- Spread grout over the mosaic surface, filling the gaps between the tiles.
- Wipe away excess grout with a damp sponge.
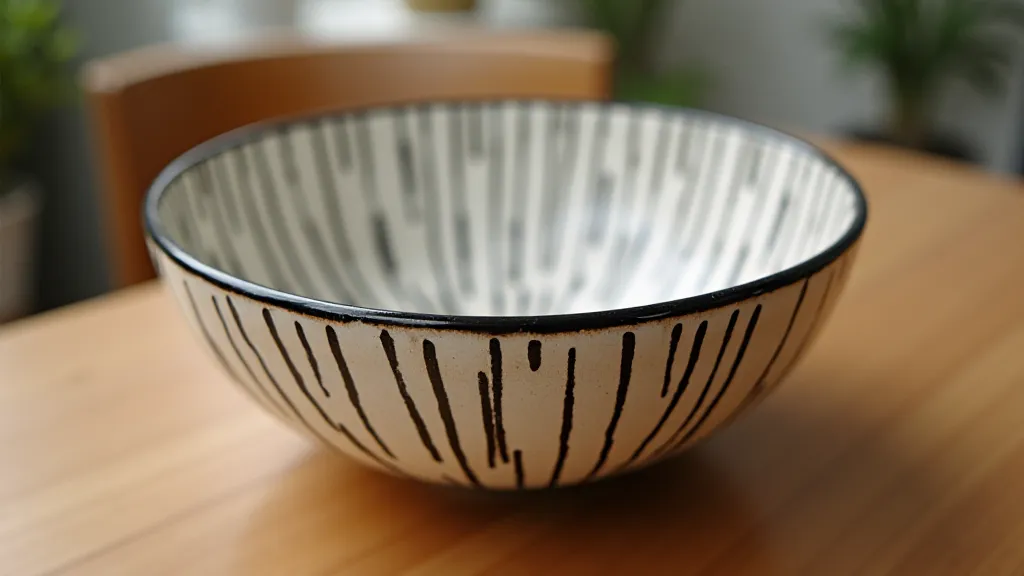
Project 3: Painted Bowls – Simple and Stylish
Painting is the easiest way to transform a plain bowl into a beautiful accent piece. Experiment with different colors, patterns, and techniques.
Materials You'll Need:
- Old Bowls
- Acrylic Paints
- Paintbrushes (various sizes)
- Painter's Tape (optional)
- Sealer (optional)
Instructions:
- Clean and dry the bowl thoroughly.
- Apply a base coat of paint if desired (especially if the original bowl color is dark).
- Use painter's tape to create clean lines and patterns.
- Paint the bowl with your chosen colors and designs.
- Let the paint dry completely.
- Apply a sealer to protect the design (optional).
Finishing Touches & Tips
- Always let each layer of paint or adhesive dry completely before applying the next.
- Use a sealant to protect your finished bowls and make them more durable.
- Don't be afraid to experiment with different techniques and materials.
- Safety first! Wear gloves and safety glasses when working with adhesives and grout.
With a little creativity and effort, you can transform those forgotten bowls into stunning DIY home decor pieces. Happy crafting!