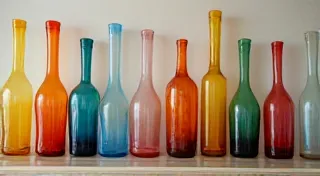
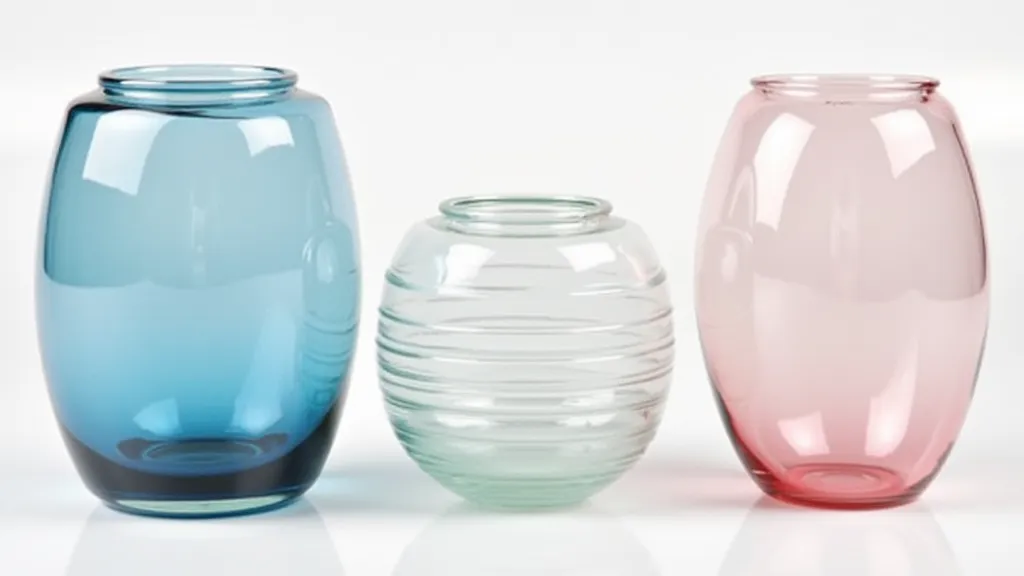
DIY Painted Vases: A Colorful & Budget-Friendly Update
Looking to refresh your home decor without breaking the bank? One of the easiest and most impactful ways to do this is by painting your existing vases! This DIY project is perfect for all skill levels – no artistic talent required! We'll guide you through several techniques, from simple solid colors to more intricate designs, transforming your plain vases into stunning home accents.
What You’ll Need
- Existing glass vases (any size or shape will work!)
- Acrylic paints (various colors of your choice)
- Paintbrushes (various sizes, including small detail brushes)
- Painter’s tape (optional, for creating stripes or geometric patterns)
- Newspaper or drop cloth (to protect your workspace)
- Water container (for rinsing brushes)
- Paper towels (for wiping brushes)
- Mod Podge or clear acrylic sealant (optional, for extra durability and shine)
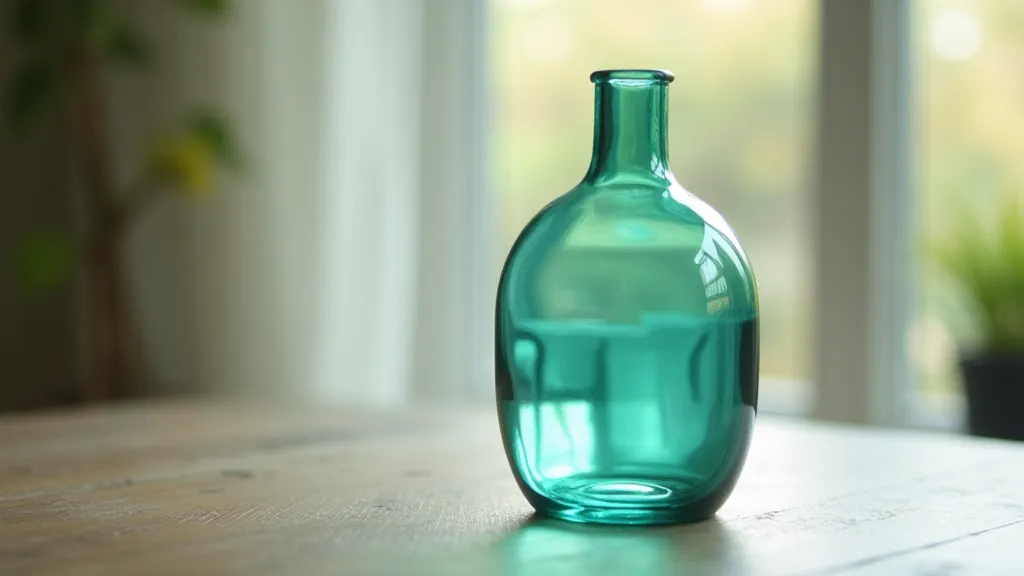
Technique 1: Solid Color Transformation
This is the easiest starting point! It’s a great way to modernize a vase that’s a bit dated or just doesn’t match your current color scheme.
- Prep the Vase: Clean your vase thoroughly with soap and water. Dry it completely.
- Apply the Paint: Apply a thin, even coat of acrylic paint. Multiple thin coats are better than one thick coat, as this prevents drips and ensures better adhesion. Let each coat dry completely before applying the next. Usually 2-3 coats are sufficient.
- Seal (Optional): Once the paint is completely dry, apply a thin coat of Mod Podge or clear acrylic sealant for added durability.
Technique 2: Striped or Geometric Designs
Adding stripes or geometric patterns is a fun way to create a more dynamic look. Painter’s tape is your best friend for this!
- Prep and Base Coat: Clean the vase and apply a base coat of paint (usually white or a light color). Let it dry completely.
- Apply the Tape: Carefully apply painter’s tape to the vase in the desired pattern (horizontal stripes, vertical stripes, chevrons, etc.). Make sure the edges of the tape are firmly pressed down to prevent paint bleed.
- Paint the Design: Apply a coat of your chosen color(s) over the taped areas. Let it dry completely.
- Remove the Tape: Gently peel off the painter’s tape while the paint is still slightly damp (this helps prevent the paint from chipping).
- Seal (Optional): Apply a clear sealant for added protection.
Technique 3: Ombre Effect
The ombre effect adds a beautiful gradient of color to your vases.
- Prepare your colors: Choose 2-3 shades of the same color, from light to dark. Mix each color with a little bit of water to thin it out slightly.
- Apply the colors: Start by applying the lightest shade to the bottom of the vase. Then, apply the next shade, slightly overlapping the previous color. Continue this process until you’re using the darkest shade at the top of the vase. Blend the colors gently where they overlap. Multiple thin layers will help blend the colors more effectively.
- Let it Dry: Allow the vase to dry completely.
- Seal (Optional): Apply a clear sealant for added durability.
Tips & Tricks
- Experiment with Different Finishes: Try using metallic paints, glitter, or even textured paints for a more unique look.
- Distressed Look: After painting, you can lightly sand some areas to create a distressed, vintage look.
- Clean Up: Clean your brushes immediately after use with soap and water.
- Protect Your Surface: Always cover your workspace to prevent paint spills.

With a little creativity and these simple techniques, you can transform your old vases into stunning and personalized home decor pieces! Have fun experimenting and adding a pop of color to your home!