Easy DIY Yarn Garland: Perfect for Any Occasion
Create a festive atmosphere with these easy DIY yarn garlands. Perfect for parties, holidays, or just adding a touch of whimsy to your home. Whether you're looking to brighten a children’s room, add a pop of color to a rustic celebration, or simply want a fun and inexpensive way to add some personality to your space, a yarn garland is a fantastic choice. And if you’ve been looking for an easy project to get your creativity flowing, look no further!
What You'll Need
- Yarn (various colors - acrylic or wool work well)
- Scissors
- Measuring tape or ruler (optional)
- Embroidery needle or large-eyed needle (optional, for hanging
- Yarn pom-pom maker (optional, for Method 3)
Instructions
This DIY yarn garland is incredibly simple, requiring no glue or complicated techniques. There are a few variations to create different looks. Before we dive in, if you love adding handmade touches to your home, consider exploring other simple projects like DIY painted flower pots to give your space a truly personalized feel.
Method 1: Simple Strands
- Cut the Yarn: Decide how long you want your garland to be. Cut several strands of yarn, all the same length. A good starting length is 6-8 feet per strand. The more strands you use, the fuller your garland will be. Consider the overall aesthetic you're going for - a long garland can create a dramatic effect, while shorter strands offer a more delicate look.
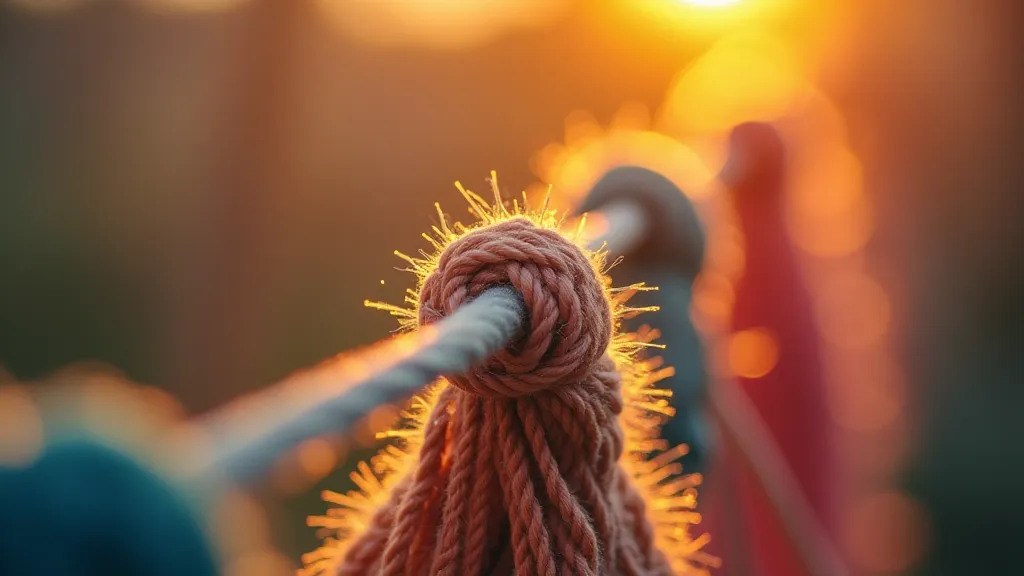
- Tie the Strands Together: Gather all the yarn strands and tie them together securely at one end, creating a knot. This will be one end of your garland. Make sure the knot is tight to prevent unraveling.
- Add More Strands (Optional): If you want a longer garland, you can tie additional bundles of yarn strands to the existing garland. Simply tie the new bundle to the end of the current garland. This is great for creating an exceptionally long garland for a large space.
- Finish the End: Tie a knot at the other end of the yarn to secure all the strands. Double-check to ensure the knot is secure and won’t come undone.
- Cut the Yarn: Similar to Method 1, cut several strands of yarn. Length depends on desired garland size. A slightly longer strand might be helpful for easier twisting.
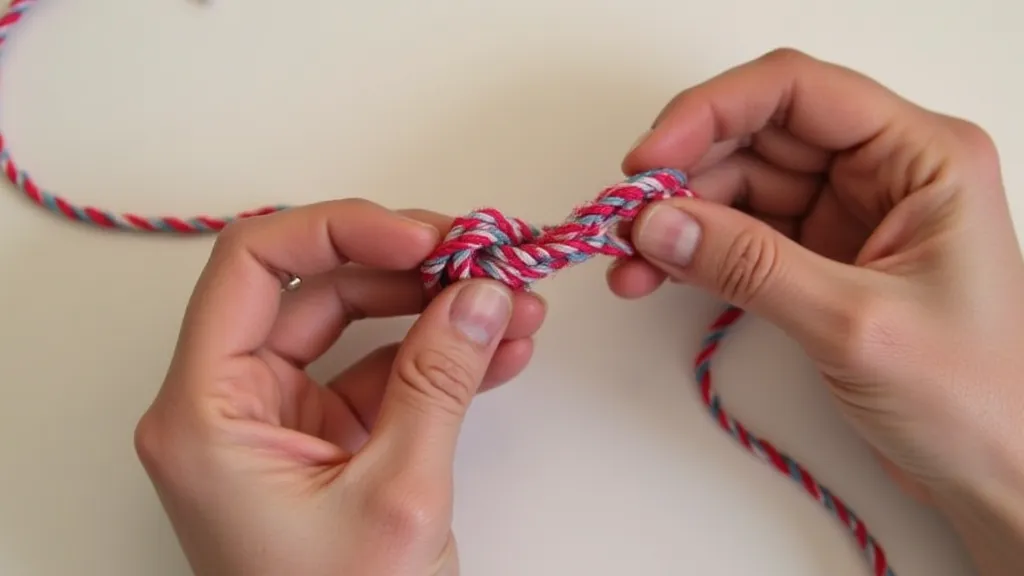
- Twist the Strands: Take two strands of yarn and twist them around each other. Continue twisting the Strands:
- Combine Twisted Pairs: Take two twisted Pairs:
- Combine Twisted Pairs:
- Combine Twisted Pairs:
- Secure the Ends:
- Add beads or tassels:
- Create a Boho Touch:
- Create a Boho Touch:
- Add Beads or Tassels:
- Add Beads or Tassels:
- Add Beads or Tassels:
- Add Beads or Tassels:
- Add Beads or Tassels:
- Add Beads or Tassels:
- Add Beads or Tassels:
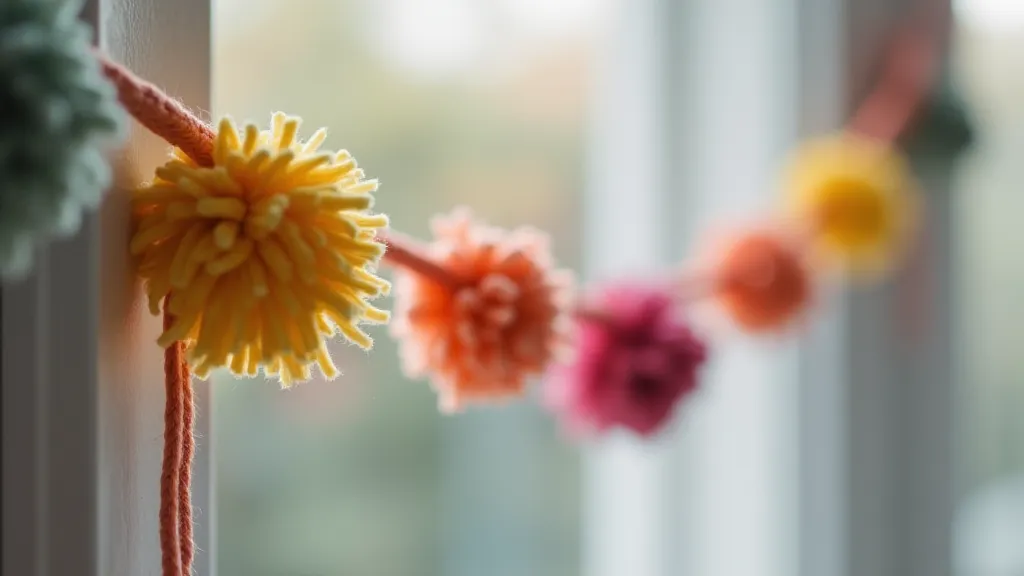
- Create Pom-Poms: Make small yarn pom-poms. There are plenty of tutorials online for making easy pom-poms – search for ‘DIY yarn pom-poms’. You can use a pom-pom maker for a more consistent look, or simply wrap yarn around a fork or your fingers. This method is particularly great for adding a playful and whimsical touch to your garland.
- Create a Base Strand: Follow the steps in Method 1 to create a simple yarn strand.
- Attach Pom-Poms: Space the pom-poms along the yarn strand and tie them securely. Be creative with placement; some close together, some spaced out for a dynamic look.
- Color Scheme: Choose colors that match your decor or the occasion. Consider a monochromatic scheme for a sleek look, or a rainbow of colors for a festive feel.
- Mix Yarn Types: Experiment with different textures and thicknesses of yarn. Combining chunky and thin yarn can create a unique and visually interesting effect.
- Add Beads or Tassels: Tie beads or tassels along the garland for extra embellishment. This is a simple way to add personality and sparkle.
- Hang Anywhere: Drape your garland across a mantel, doorway, window, or use it as a backdrop for a party. Try layering several garlands of different lengths and colors for a truly eye-catching display.
- Embrace Imperfection: Remember that handmade items are rarely perfect, and that’s part of their charm. Don't stress about making everything symmetrical or precise; embrace the organic feel and unique character of your creation.
Method 2: Twisted Garland
Method 3: Adding Pom-Poms
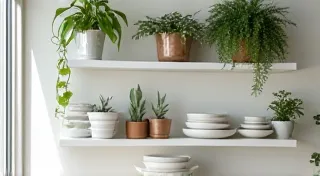
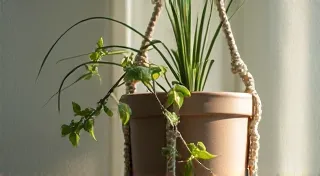
If you love the look of natural textures and handmade details, you might also enjoy learning how to make DIY macrame plant hangers for a complete bohemian vibe in your home.
Tips & Variations
Beyond Decoration: The Philosophy of Impermanence
The creation of a DIY yarn garland aligns with a larger appreciation for the beauty of the handmade and the temporary. It’s a departure from mass-produced perfection and a step toward embracing the imperfections and unique character of crafted items. This sentiment echoes philosophies of creating an atmosphere that is intentional and authentic, such as those expressed in articles like "Fractured Symmetry: Embracing Imperfection in a Curated Home".
Enjoy Your Festive DIY!
This easy DIY yarn garland is a fantastic way to add a personal touch to any space. Have fun experimenting with different colors and techniques to create a unique and beautiful decoration! Don't be afraid to let your creativity shine and transform simple materials into something truly special.