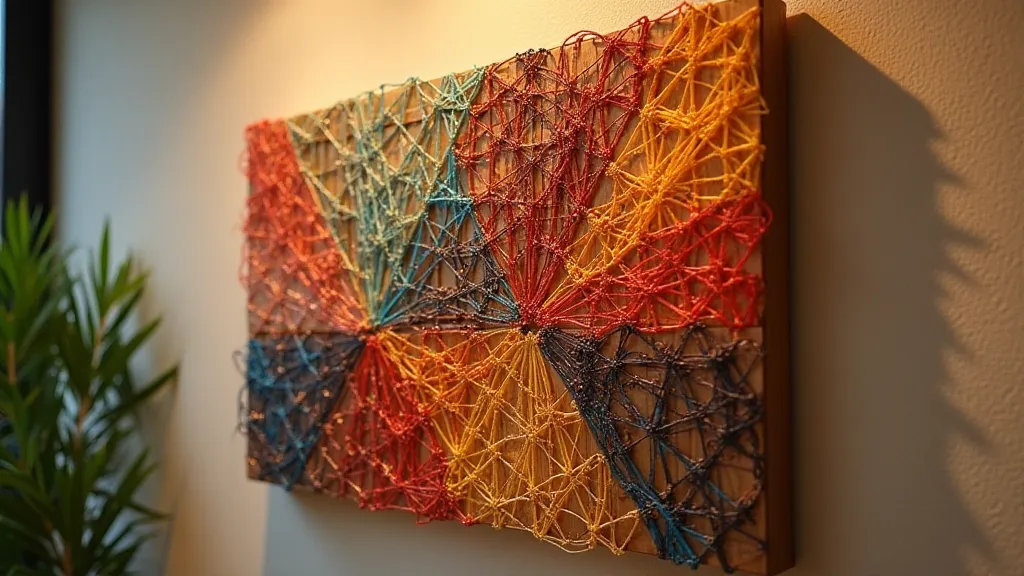
DIY String Art: A Unique & Customizable Craft
Want to add a personal touch to your home decor? String art is a surprisingly easy and rewarding craft that's perfect for all skill levels! It’s a fantastic way to create stunning, one-of-a-kind pieces that reflect your style. This tutorial will walk you through the basics, from selecting your design to the final touches. Let’s get started!
What You'll Need
- A wooden board (pine or similar, any size or shape you like)
- Hammer
- Small nails (approximately 3/4" to 1" long)
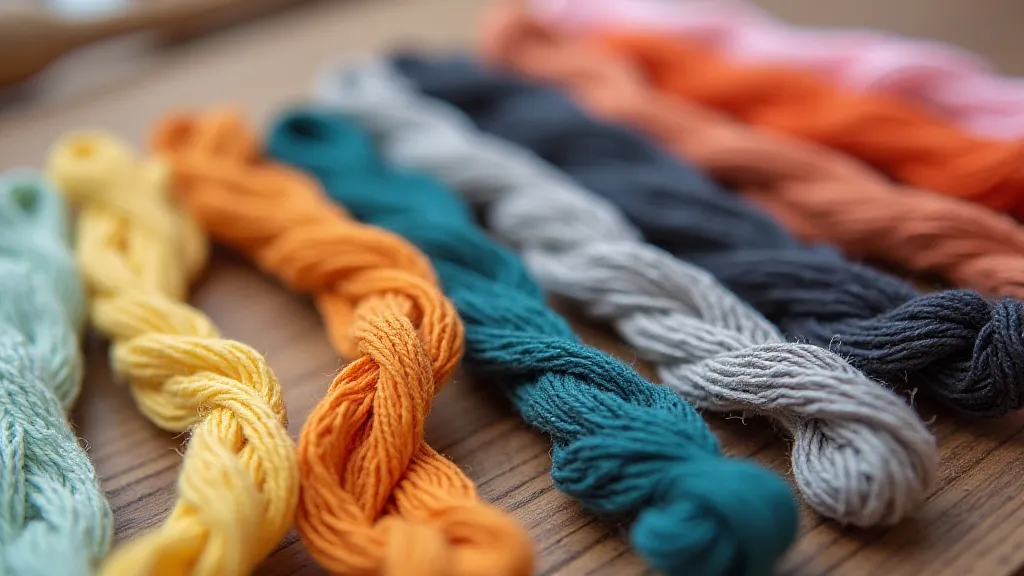
- String or embroidery floss (choose your colors!)
- Pencil
- Printed template or design (optional, but helpful for beginners)
- Scissors
- Safety Glasses (recommended)
Step 1: Preparing Your Board & Design
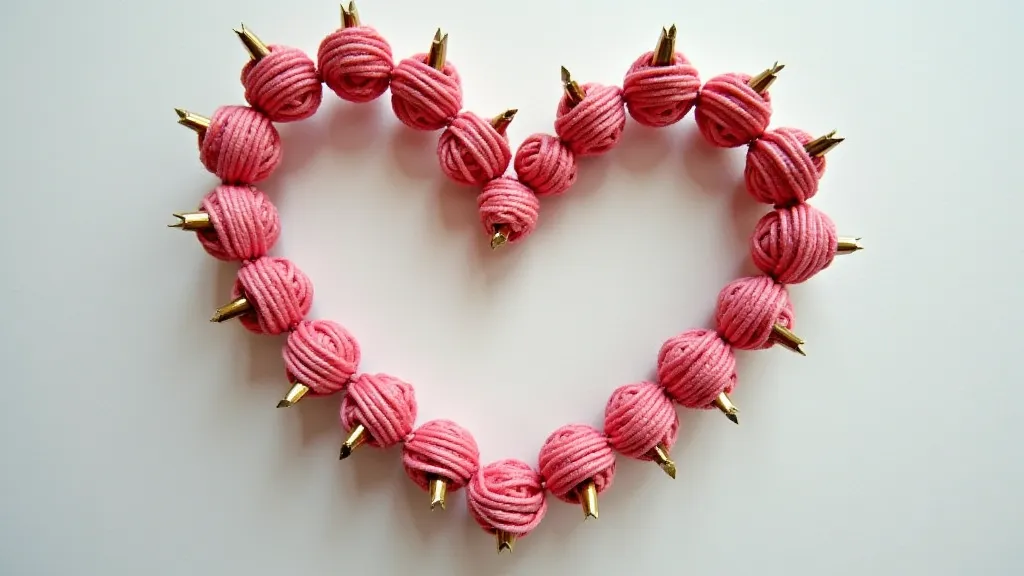
First, decide what you want to create! Simple shapes like hearts, stars, or geometric patterns are great for beginners. You can find free string art templates online to get started, or freehand your own design onto the wood with a pencil.
If you’re using a template, secure it to the wooden board with tape. If you’re freehanding, lightly sketch your design onto the wood. Consider the size of your desired string art piece and choose a board that's appropriately sized. A smooth surface will make nailing easier.
Step 2: Nailing the Pattern
This is the most important step! Using your pattern as a guide, carefully hammer nails into the wood along the lines of your design. Space the nails evenly - about 1/2 inch to 1 inch apart is a good starting point. Be sure to wear safety glasses to protect your eyes.
The more nails you use, the more detailed your string art will be. Take your time and ensure the nails are hammered straight and to a consistent depth. This will make wrapping the string much easier later on.
Step 3: Stringing It All Together
Now comes the fun part! Tie a knot around one nail, securing your string. Then, begin wrapping the string around the nails, creating your design. There are several stringing techniques you can use – the "random" method where you crisscross the string randomly, or a more deliberate pattern following the lines of your design.
Experiment to see what looks best! Pull the string taut as you wrap to create a clean, defined look. Keep the tension consistent throughout the entire process.
Step 4: Finishing Your Masterpiece
Once you’re happy with your string pattern, tie off the string and trim any excess. You can add a coat of clear sealant or varnish to protect your string art and give it a polished look.
Consider adding a sawtooth hanger to the back of your board for easy display. Your unique string art piece is now ready to brighten up your home!
Tips & Tricks
- Experiment with string types: Try different thicknesses and textures of string for varied visual effects.
- Color Combinations: Play with different color combinations to create different moods.
- Vary Nail Placement: You can create more complex designs by placing nails closer together or further apart.
- Use multiple colors: Change string colors mid-project to add visual interest.