DIY Wall Decals: Easy to Apply & Remove
Add custom designs to your walls without paint! Learn how to create your own wall decals using vinyl and a cutting machine (or by hand).
Introduction: Transforming Your Walls with DIY Decals
Want to refresh your home decor without the commitment of a full paint job? DIY wall decals are a fantastic solution! They’re budget-friendly, incredibly versatile, and allow you to express your personal style. Whether you’re a seasoned crafter or just starting out, this guide will walk you through the process of creating your own unique wall accents. It's a wonderfully engaging way to inject personality into any room, much like creating a DIY cork board to organize your space and showcase your creative flair.
What You'll Need
- Vinyl: Adhesive vinyl is key. You can find it in a wide variety of colors, patterns, and finishes. Consider matte vinyl for a more subtle look, or glossy vinyl for added shine.
- Cutting Machine (Optional): A cutting machine like a Cricut or Silhouette makes creating intricate designs much easier. However, you can also cut decals by hand.
- Transfer Tape: This helps transfer your cut design from the vinyl sheet to your wall.
- Weeding Tools: These specialized tools help remove excess vinyl around your design.
- Squeegee or Scraper: To smooth out the decal and ensure proper adhesion.
- Scissors or Craft Knife (for hand-cutting)
- Ruler or Measuring Tape
- Pencil or Chalk (for marking)
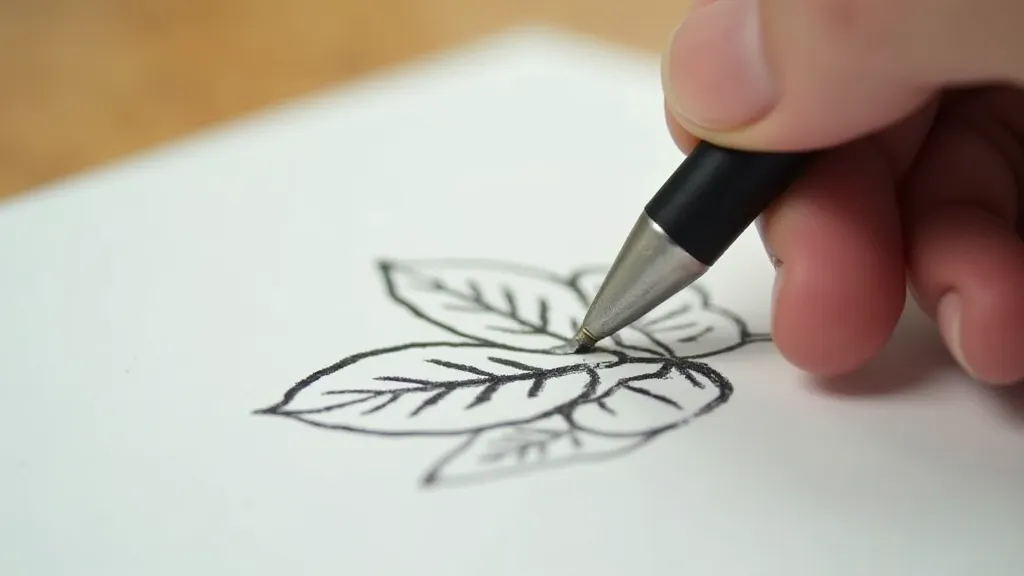
Step 1: Design Your Decal
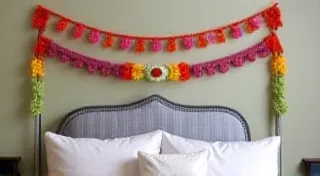
The possibilities are endless! You can find free designs online, create your own in graphic design software, or even hand-draw a design and scan it. Simple shapes, lettering, or silhouettes work great for beginners. Adding a touch of whimsy and handcrafted charm is essential for creating a truly personalized space—just like adorning a room with a colorful DIY yarn garland to instantly brighten the atmosphere.
Step 2: Cutting Your Decal
Using a Cutting Machine: Load your vinyl onto the cutting mat, insert it into the machine, and follow your machine's instructions to cut your design. Mirror your image before cutting, as cutting machines read images in reverse!
Cutting by Hand: Print your design onto a piece of paper and place it under the vinyl. Use scissors or a craft knife (with caution!) to carefully cut around the design. This requires a steady hand and patience. The process requires meticulous attention to detail and a certain finesse, much like the upcycling artistry explored in "The Alchemist's Hearth."
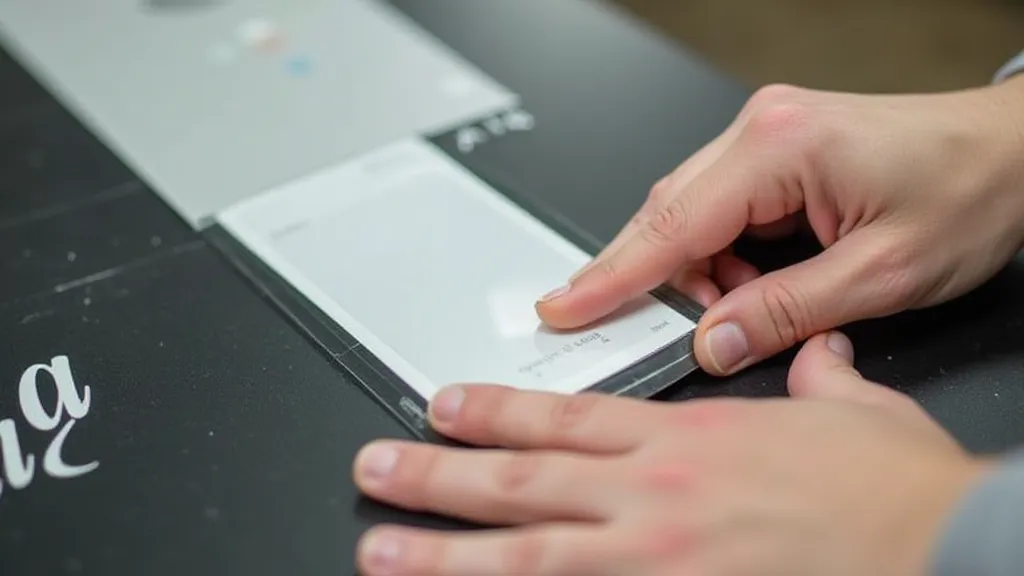
Step 3: Weeding the Design
After cutting, use your weeding tools to carefully remove the excess vinyl, leaving only the desired design on the vinyl backing. This can be a little tricky, so take your time.
Step 4: Applying Transfer Tape
Apply a piece of transfer tape over your weeded design. Burnish (rub) the transfer tape with a squeegee or scraper to ensure the design adheres to the tape. This step is crucial for easy transfer to the wall.
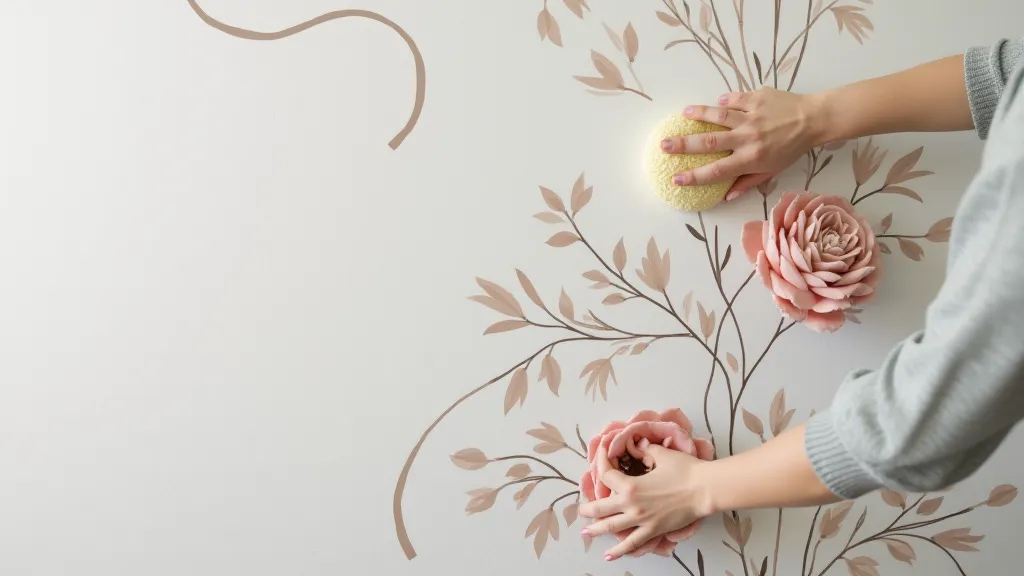
Step 5: Applying to Your Wall
Carefully peel the transfer tape from its backing. Position the decal on your wall where you want it. Use a squeegee or scraper to burnish the decal onto the wall, working from the center outwards to avoid air bubbles. Peel the transfer tape slowly and carefully, ensuring the decal adheres to the wall.
Step 6: Finishing Touches
Once the transfer tape is removed, check for any small bubbles or imperfections. You can use a pin or needle to gently pop any small air bubbles. If needed, burnish the decal again. Creating a well-organized and beautifully decorated space often involves clever storage solutions, similar to the stylish and functional ideas showcased in a DIY fabric storage bins project.
Tips & Tricks
- Clean Your Wall: Before applying decals, clean your wall with a mild cleaner to remove any dust or grime.
- Test a Small Area: If you’re using a new type of vinyl, test it on a small, inconspicuous area of your wall first to ensure it adheres properly and removes cleanly.
- Removing Decals: To remove a decal, carefully peel it away from the wall, starting from a corner. You can use a hairdryer to gently warm the vinyl, which can help loosen the adhesive. Sometimes, the adhesive residue can be persistent; a gentle cleaning solution can be helpful in these cases, aligning with the resourceful nature of transforming discarded items into interior radiance.
Conclusion
Creating your own DIY wall decals is a fun and rewarding project. With a little creativity and patience, you can transform your walls into personalized works of art! The journey of creating a unique and inviting space doesn't end with the wall decals; it's an ongoing process of discovery and personal expression, constantly evolving alongside your tastes and inspirations. Embracing this creative spirit allows you to cultivate a home that truly reflects who you are and how you want to live.