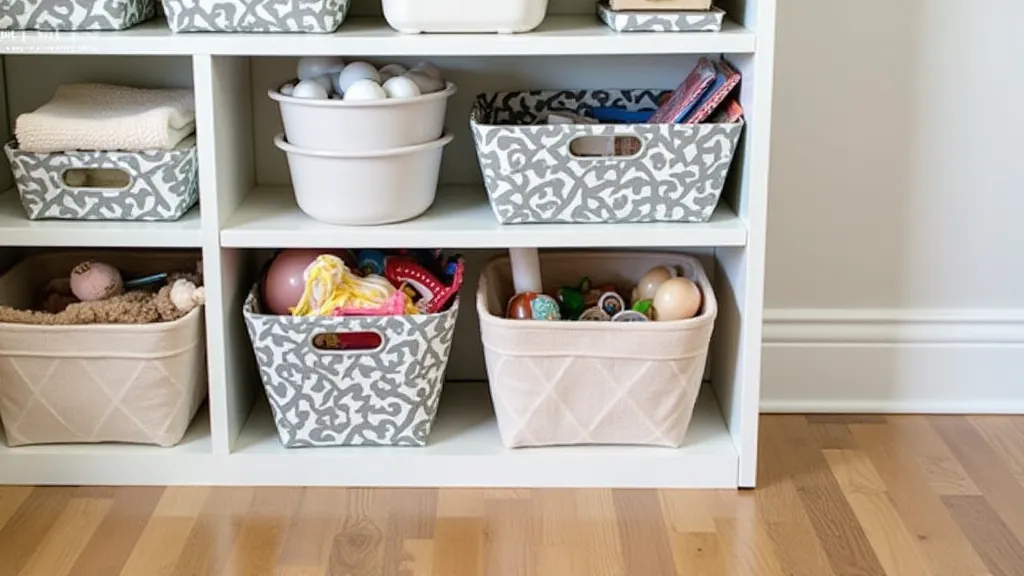
DIY Fabric Storage Bins: Stylish & Organized
Tired of cluttered shelves and overflowing drawers? Want to add a touch of personality to your storage solutions? Then you're in the right place! This DIY fabric storage bin tutorial is the perfect solution for anyone looking to add stylish organization to their home. These bins are surprisingly easy to make, even for beginners, and you can customize them to match your existing décor. Sometimes, a little bit of creative upcycling can transform a chaotic space into a haven of order and charm – a principle that mirrors the spirit of projects like turning discarded treasures into interior radiance, something we explore in more detail elsewhere.
What You’ll Need
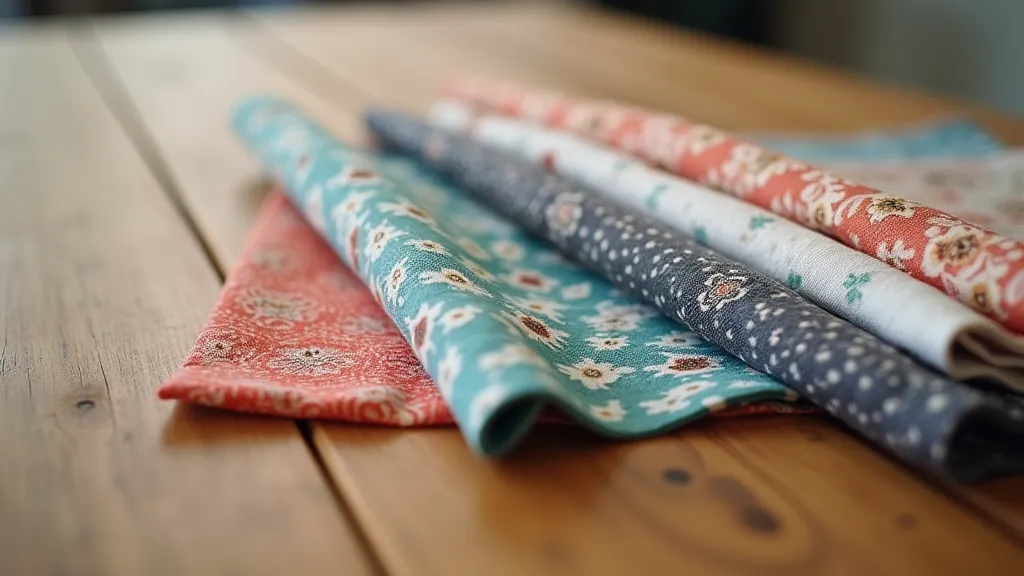
- Fabric: Choose your favorite! Cotton, linen, canvas, or even upcycled fabric scraps work great. Estimate about 1/2 yard for a small bin, 1 yard for a medium, and 1.5 yards for a large. Consider the weight of the fabric; heavier options like canvas or denim create more substantial bins, while lighter options are perfect for delicate items.
- Interfacing (optional): Adds stability and structure to your bins. Lightweight fusible interfacing is recommended.
- Sewing Machine
- Thread
- Scissors or Rotary Cutter
- Ruler or Measuring Tape
- Pins or Clips
- Iron
Before diving into the sewing, take a moment to envision the final look and feel of your bins. Do you want a rustic charm? Perhaps a pop of color to brighten a dull corner? Incorporating playful elements, like adding simple decorations or painted details, can really personalize your creations. Speaking of personalization, if you're looking for other easy and charming decor ideas, you might enjoy our guide to DIY painted rocks.
Step-by-Step Instructions
1. Cut Your Fabric
First, decide on the size of your storage bins. Here are a few suggested sizes (these can be adjusted!):
- Small: 8" x 10" (ideal for craft supplies or small toys)
- Medium: 12" x 36" (perfect for blankets or sweaters)
- Large: 16" x 48" (great for organizing bulky items)
Cut two pieces of fabric for each bin size. If using interfacing, cut two pieces of interfacing as well. Remember to add a 1/2 inch seam allowance on all sides. Ensuring accurate measurements is key – a slight error here can throw off the entire project. Precise cutting and alignment are just as vital as the creative aspects.
2. Apply Interfacing (Optional)
If you’re using interfacing, center it on the wrong side of your fabric pieces and fuse according to the manufacturer’s instructions. This step isn’t essential, but it will make your bins more durable and give them a more polished look. Interfacing is especially helpful for bins intended to hold heavier items, adding extra stability and preventing sagging.
3. Sew the Sides
Place two pieces of fabric right sides together. Sew along the long edges with a 1/2 inch seam allowance. Backstitch at the beginning and end to secure the seams. Consistent stitching is key to a professional finish. A steady hand and a reliable sewing machine are your best friends in this step.
4. Create the Bottom
Now, it's time to create the bottom. Depending on the desired shape, you can choose a squared-off bottom or a more rounded one. For a squared-off bottom, simply continue sewing the seams around the remaining sides, ensuring corners are square. Consider the overall aesthetic you’ll be creating; a squared-off bottom lends a crisp, modern look, while a rounded bottom offers a softer, more organic feel.
5. Box the Corners (for Squared Bottoms)
To create a clean, squared-off bottom, you’ll need to “box” the corners. To do this, fold each corner so that the side seam and the bottom edge line up, forming a triangle. Measure and trim away the excess fabric, leaving a 1/2 inch seam allowance. Pin securely and sew across the corner. Boxing the corners is a crucial step in achieving a professional finish. It eliminates unsightly bulk and creates sharp, defined edges.
6. Finish the Top Edge
Fold the top edge of the bin down 1/2 inch and press with an iron. Fold it down again another 1/2 inch and press again. This creates a neat, finished edge. You can topstitch around the top edge for extra durability and a professional look. A nicely finished top edge elevates the overall appearance of the bins, showing attention to detail.

The beauty of these DIY fabric storage bins lies not only in their functionality but also in their versatility. You can incorporate various design elements to truly make them your own. Perhaps you're drawn to a rustic aesthetic, reminiscent of a cozy cabin, or maybe you prefer a more contemporary look. Adding touches like fabric handles can improve usability, and you can even add lighting to create unique visual effects. Speaking of unique decorative elements, if you want to learn to make your own personalized lighting, you might be interested in our guide to DIY mason jar lights. They offer a charming, rustic glow that can transform any space.
Fabric Choice: Consider using heavier fabrics like canvas or denim for more substantial bins. Experiment with different textures and patterns to create a unique look. Don't be afraid to mix and match fabrics for a patchwork effect.
Handles: Add fabric handles for easy carrying. Use sturdy webbing or repurposed fabric strips for handles.
Personalization: Embellish your bins with buttons, embroidery, or fabric paint. Use stencils to create intricate designs.
Size Variations: Experiment with different sizes to suit your specific storage needs. Create bins of all shapes and sizes to organize every corner of your home.
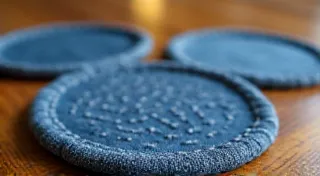
Quilted Fabric: For a unique look, use quilted fabric. Quilted fabric adds texture and visual interest to your storage bins.
Repurposing: Give old clothes a new lease on life by repurposing them into fabric storage bins. This is a sustainable and budget-friendly way to add organization to your home.
Beyond the straightforward steps outlined above, remember that creativity flourishes when you break the rules. Don't feel bound by the suggested sizes or fabrics—experimentation is key to discovering your own unique style. A touch of whimsy, a dash of color, and a sprinkle of personal flair can transform simple storage bins into cherished works of art. You could even create a complete set of bins with coordinating fabrics and embellishments to tie a room together. And if you are looking for some ways to brighten up a room, or add some color, you might also be interested in easy DIY yarn garland tutorials.
You're all done! Now you have a stylish and functional fabric storage bin to help organize your home. These bins are a great way to add a touch of personality to your décor while keeping things tidy. The satisfaction of creating something beautiful and useful with your own hands is a reward in itself.