Easy DIY Headboard: Transform Your Bedroom!
Transform your bedroom into a stylish sanctuary with this easy DIY headboard project! A headboard is a fantastic way to add personality and a focal point to your space. This tutorial guides you through creating a beautiful headboard, regardless of your skill level. We'll explore options using fabric, wood, and even reclaimed materials, so you can customize it to perfectly match your decor.
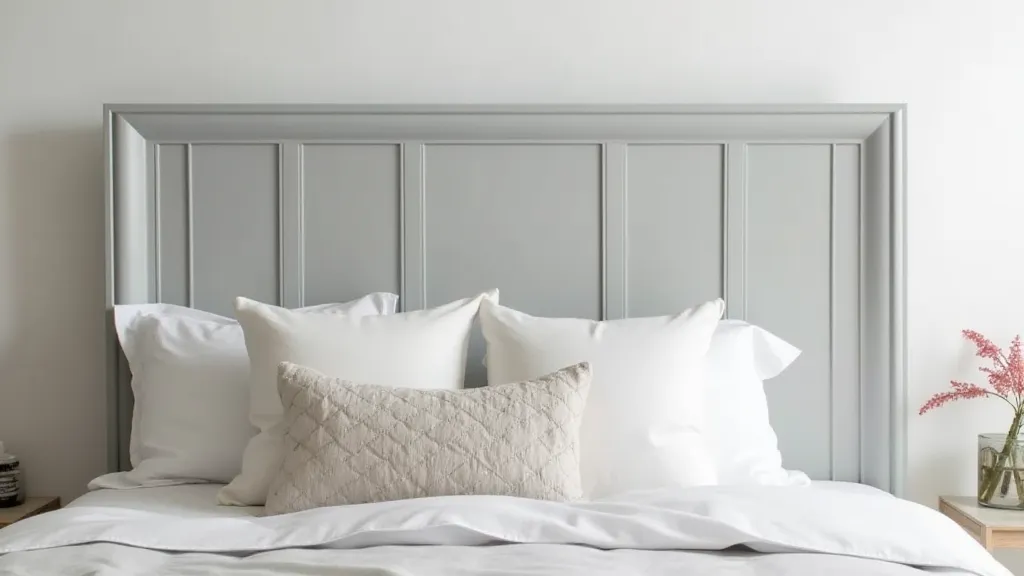
Choosing Your Headboard Style & Materials
Before you start, consider the overall style of your bedroom. A rustic space might call for a reclaimed wood headboard, while a more modern bedroom could benefit from a sleek upholstered design. Here are a few ideas and material options:
- Upholstered Fabric Headboard: This is a classic and versatile choice. You’ll need plywood, batting, fabric (choose something durable!), a staple gun, and potentially buttons or decorative trim.
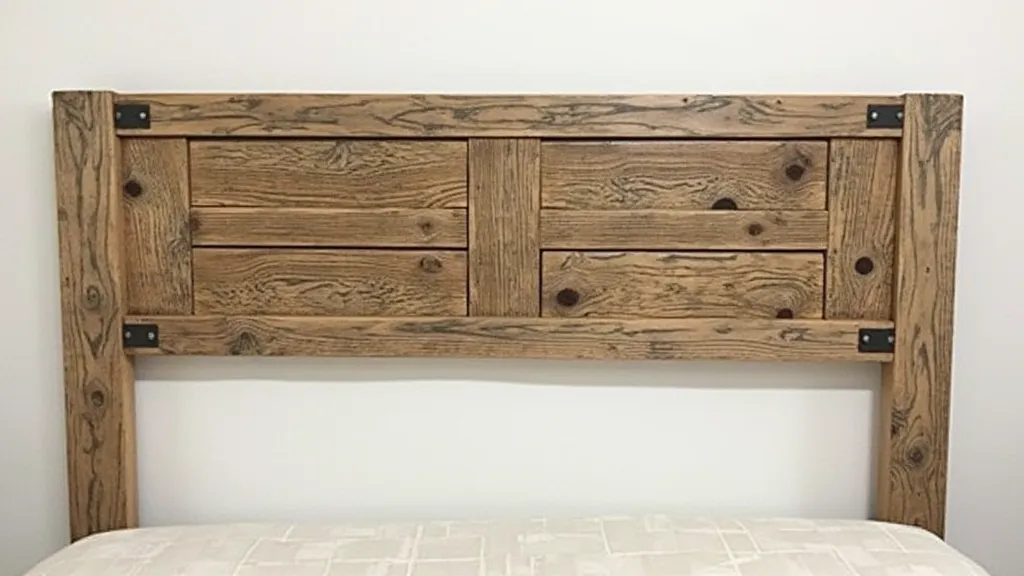
- Wood Headboard: A wood headboard can be rustic, modern, or anything in between! Options include pallet wood, simple planks, or even more intricate woodworking. You'll need wood, saw, sandpaper, nails/screws, and stain/paint.
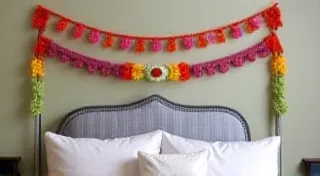
- Reclaimed Headboard: Give old materials a new life! Think old doors, shutters, or even pieces of furniture. These add character and a unique touch.
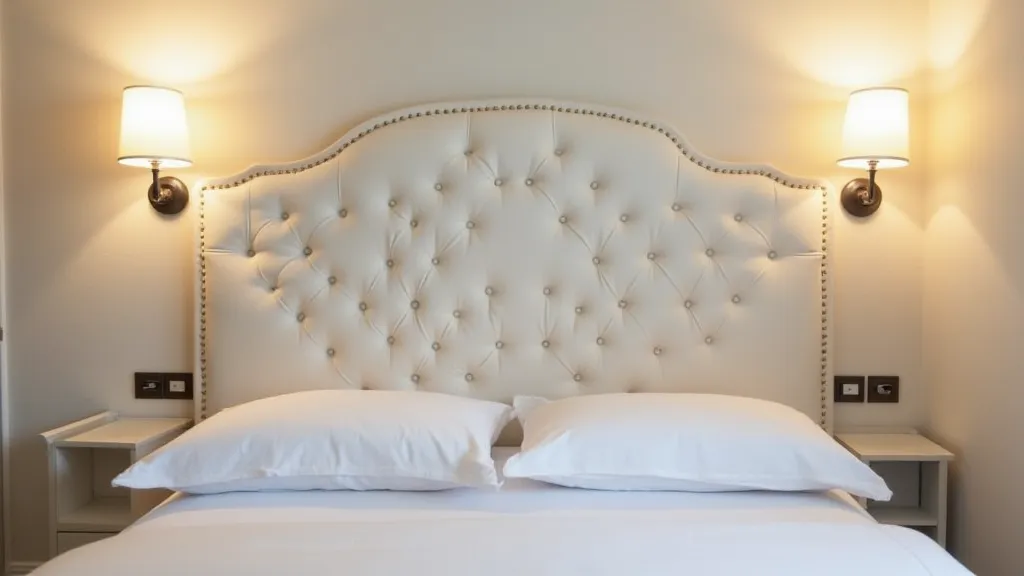
Step-by-Step Instructions: Fabric Headboard (Most Popular)
Let's walk through creating an upholstered fabric headboard. This is a great starting point for beginners!
- Measure Your Bed: Determine the desired width and height of your headboard. Account for the bed frame thickness.
- Cut the Plywood: Cut a piece of plywood to your measured dimensions. A 1/2" or 3/4" thickness is ideal.
- Add Batting: Wrap the plywood with batting, ensuring a generous amount to create a plush feel. Staple the batting securely to the back of the plywood.
- Cover with Fabric: Center your chosen fabric over the batting-covered plywood. Pull the fabric taut and staple it to the back, working from the center outwards. Fold and staple the corners neatly.
- Finishing Touches: If desired, add decorative buttons or trim. You can also add a fabric liner to the front for a more finished look.
- Mounting: Attach the headboard to your bed frame using appropriate hardware. Consider the weight of the headboard and ensure it's securely fastened.
Tips & Variations
- Customize Your Fabric: Choose a fabric that complements your bedroom's color scheme and style.
- Add Texture: Consider using textured fabrics like velvet or linen for added visual interest.
- Shape It Up: Don't be afraid to experiment with different shapes! A scalloped or arched headboard can add a touch of elegance.
- Add Lighting: Integrate LED strip lights behind the headboard for a soft, ambient glow.
Wood Headboard Basics
For a wood headboard, focus on proper sanding and finishing. Apply stain or paint to protect the wood and achieve your desired look. Consider adding molding or other decorative elements to enhance the design.
With a little creativity and effort, you can create a stunning DIY headboard that will transform your bedroom into a cozy and stylish retreat. Happy crafting!