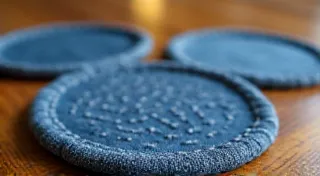
DIY Concrete Coasters: A Modern Home Accent
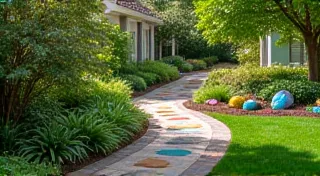
Learn to make your own modern concrete coasters! This simple project is perfect for adding a touch of industrial chic to your home. It’s a rewarding project, and the satisfaction of creating something with your own hands is truly special. If you’re looking for other ways to express your creativity and add handmade charm to your living space, consider projects like DIY painted rocks – they’re surprisingly easy and add a delightful personal touch to any setting.
What You’ll Need
- Concrete Mix: A small bag (around 5 lbs should be plenty).
- Silicone Coaster Molds: You can find these online or at craft stores. A variety of shapes are available.
- Mixing Container: A bucket or large bowl.
- Mixing Tool: A trowel, spoon, or even a sturdy stick.
- Water: Clean tap water.
- Safety Gear: Gloves (concrete mix can be irritating to skin) and a dust mask (especially when working with dry mix).
- Optional: Concrete sealer (to protect the coasters from staining).
Step-by-Step Instructions
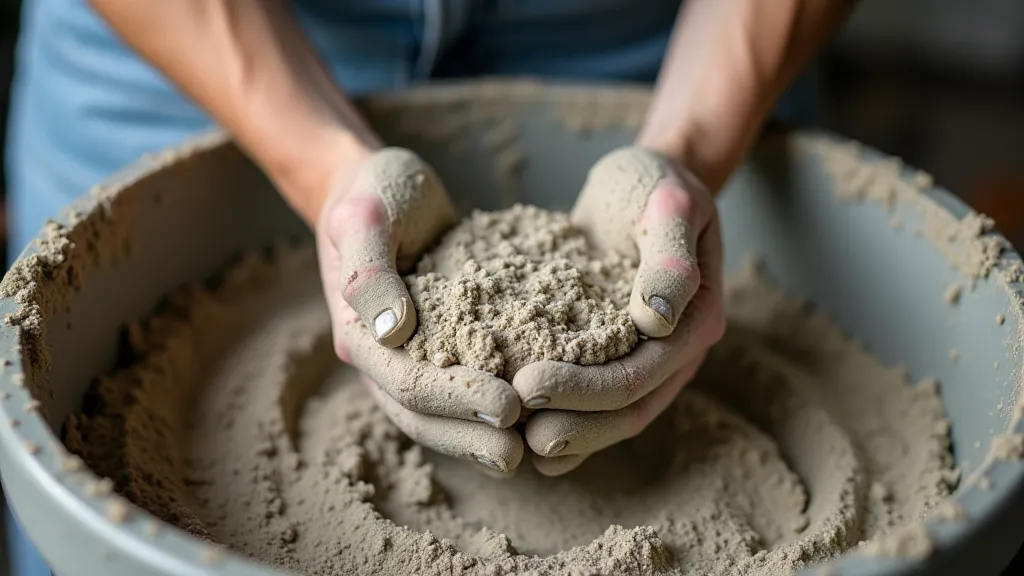
Step 1: Mixing the Concrete
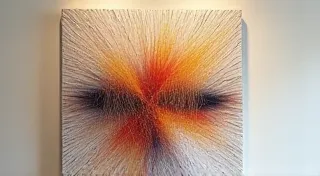
Read the instructions on your concrete mix bag carefully. Generally, you'll want to add water to the dry mix gradually, mixing thoroughly until you achieve a consistency similar to thick pancake batter. It should be pourable but not too runny. Avoid adding too much water – excess water weakens the concrete. Achieving the right consistency can be a bit tricky at first, but practice makes perfect! Remember, concrete projects often require a bit of patience and attention to detail, much like other crafts like DIY string art, where precision and a steady hand are key to creating beautiful results.
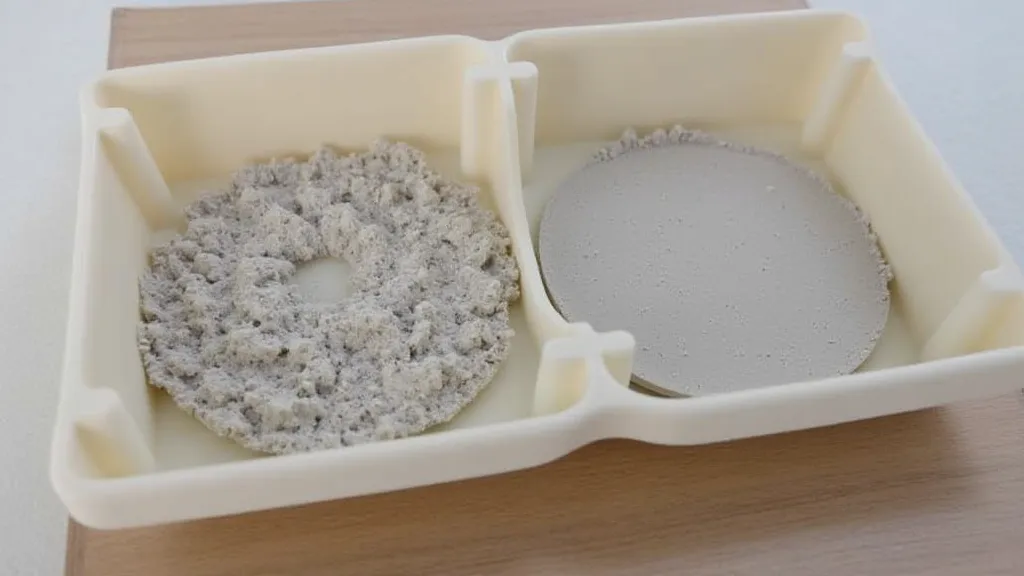
Step 2: Pouring the Concrete into Molds
Carefully pour the concrete mixture into the silicone molds. Make sure the molds are level to ensure even coasters. Gently tap the molds to release any trapped air bubbles. This will result in stronger, more even coasters. Think of the molds as your canvas, much like the backing for a personalized cork board. Speaking of organization, check out our guide on DIY cork boards for clever ideas to keep your space clutter-free and stylish.
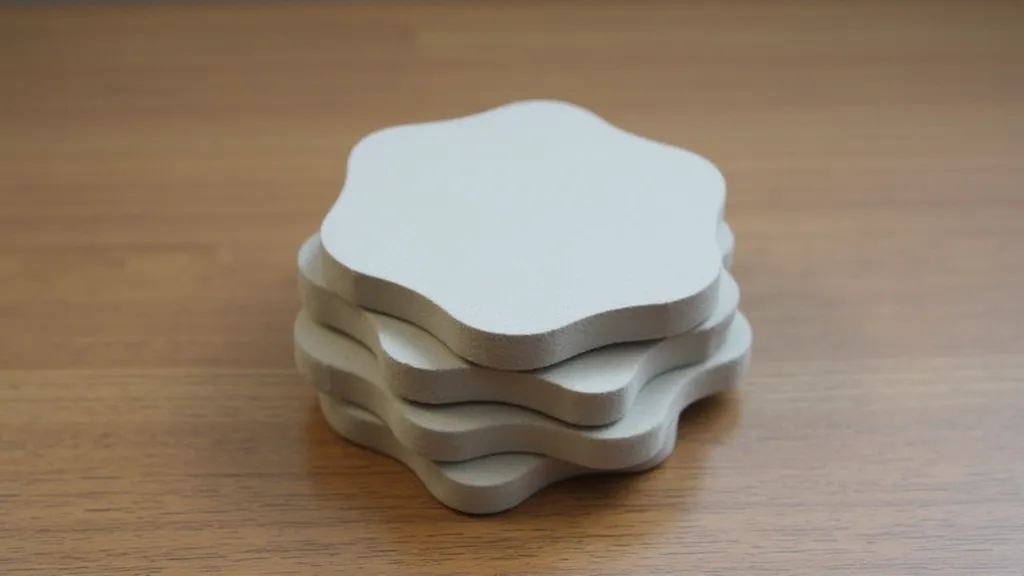
Step 3: Demolding and Curing
Allow the concrete to set completely. This usually takes 24-48 hours, but refer to your concrete mix instructions for specific times. Once set, gently remove the coasters from the molds. Curing is critical! Keep the coasters damp for at least a week by covering them with a damp cloth or spraying them with water daily. This helps them gain strength and reduces cracking. Proper curing is just as important as the initial mixing and molding; it ensures the longevity and beauty of your finished pieces, similar to how careful preservation enhances the charm of vintage maps.
Step 4: Finishing (Optional)
At this point, your coasters are ready to use! However, you can add a few optional finishing touches:
- Sanding: If you want perfectly smooth edges, use fine-grit sandpaper to lightly sand the edges.
- Sealing: Applying a concrete sealer will help protect the coasters from stains and make them easier to clean. Follow the sealer's instructions carefully. Consider sealing not just for protection but also to enhance the natural color and texture of the concrete. The cartographer’s atelier provides an inspiring look at how intentional color and texture can evoke specific moods and memories.
Beyond the Basics: Expanding Your Concrete Crafting Skills
Creating concrete coasters is just the beginning! Once you’re comfortable with the process, there's a whole world of concrete crafting to explore. You can experiment with different molds to create larger pieces like planters, candle holders, or even small sculptures. The possibilities are truly endless!
Tips & Tricks
- Experiment with colors: Add concrete dyes to the mix for a pop of color. Try blending different colors to create unique patterns and effects.
- Embed objects: Add small stones, beads, or other decorative elements into the concrete before it sets. This is a fantastic way to personalize your creations and add visual interest. Think about incorporating found objects that hold special meaning to you, transforming everyday items into cherished pieces of art.
- Don't rush the curing process: Patience is key for strong, durable coasters. A properly cured coaster will last for years to come.
- Use Release Agents: If you’re working with intricate molds, a release agent can make demolding much easier.
- Consider Adding Aggregate: Small pebbles or glass beads can add texture and visual appeal to your concrete creations.
Concrete vs. Other Crafting Materials
While concrete might seem intimidating compared to materials like felt or yarn, it offers a unique set of qualities that make it a rewarding medium for creative expression. Its durability and industrial aesthetic offer a stark contrast to softer, more traditional crafts. It's a material that embodies strength and permanence, perfect for creating lasting pieces of home décor. The aesthetic aligns well with the concept of creating a personalized space, allowing you to showcase your unique style and personality.
Enjoy Your DIY Home Accent!
These concrete coasters are a stylish and functional addition to any home. Enjoy the satisfaction of creating your own unique home decor! Remember, crafting is about more than just the finished product; it's about the process of creation and the joy of making something with your own hands. So, embrace the imperfections, learn from your mistakes, and have fun along the way!