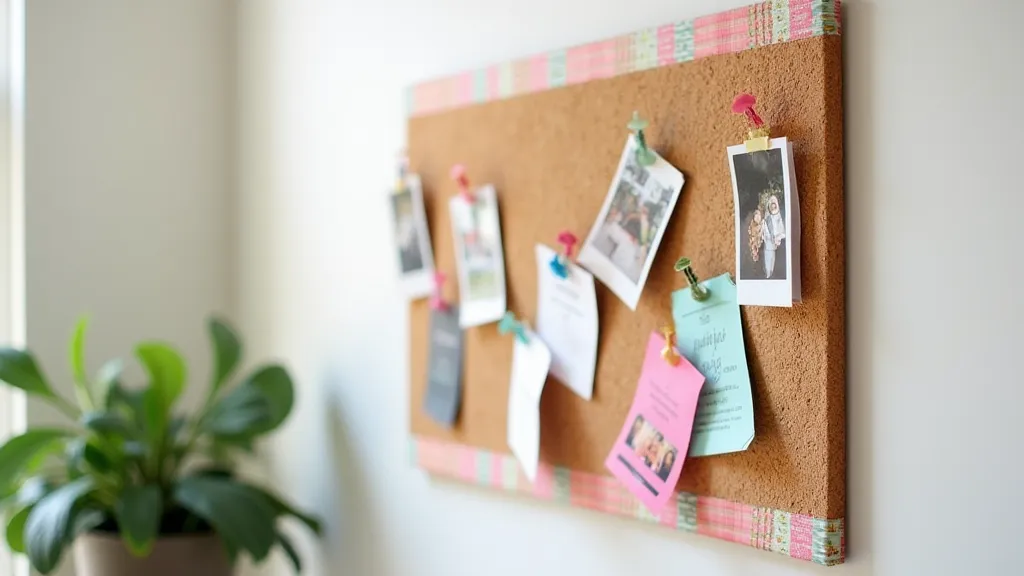
DIY Cork Board: Organize Your Space in Style
Feeling overwhelmed by clutter? A stylish and functional cork board is the perfect solution! This DIY project is surprisingly easy and affordable, adding both organization and personality to your home office, entryway, or any space that needs a little extra flair. Whether you’re a seasoned crafter or a complete beginner, this tutorial will guide you through every step.
What You’ll Need
- A wooden frame (choose a size and style that suits your space - thrift stores are great for finding unique options!)
- Cork roll or sheet
- Scissors or utility knife
- Fabric (optional, for covering the frame)
- Glue (suitable for fabric and wood)
- Decorations (ribbon, buttons, washi tape, paint, etc. – let your creativity shine!)

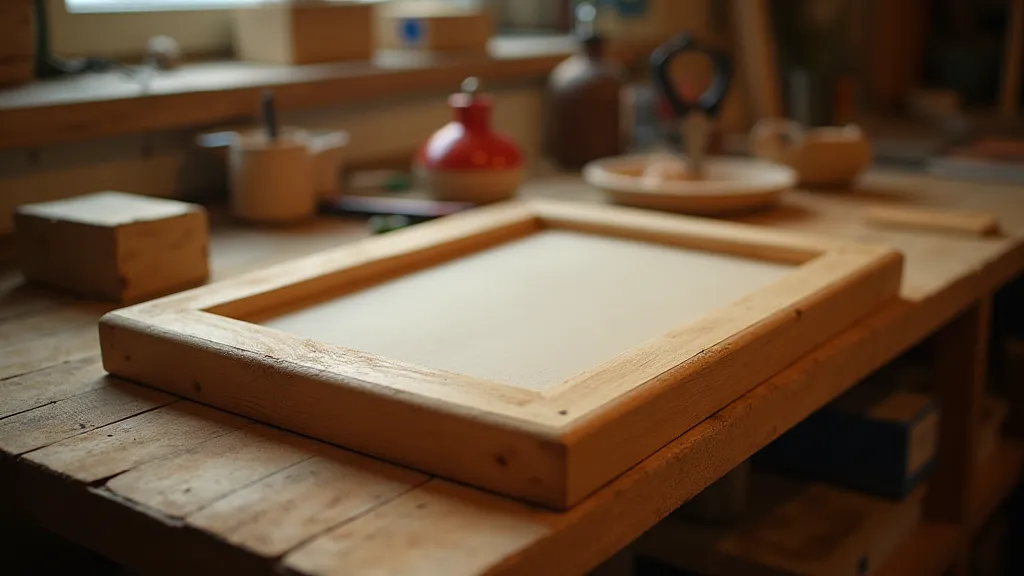
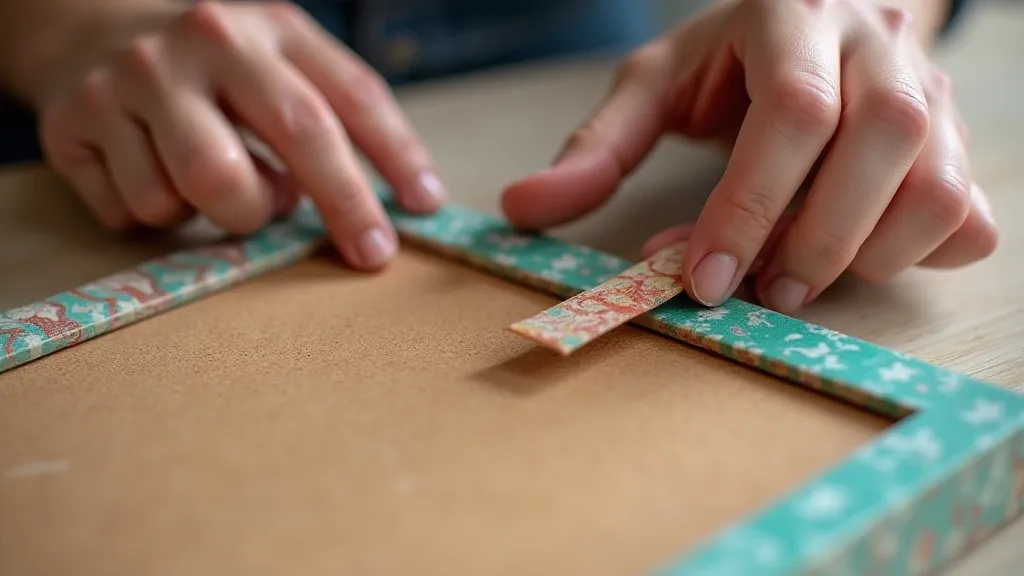
Step-by-Step Instructions
- Prepare the Frame: If you’re using a thrifted frame, clean it thoroughly. If you want to customize the frame’s appearance, now’s the time! You can paint it, stain it, or cover it with fabric. To cover with fabric, cut the fabric slightly larger than the frame. Apply glue to the frame and carefully smooth the fabric over it, wrapping the excess around to the back and securing with more glue.
- Cut the Cork: Measure the inside dimensions of your frame. Using your measurements, cut the cork roll or sheet to fit. A sharp utility knife will give you a cleaner cut, but scissors will work too.
- Secure the Cork: Apply glue to the back of the cork sheet and carefully center it within the frame. Press firmly to ensure good adhesion. Let the glue dry completely – follow the manufacturer’s instructions for drying time.
- Add Your Personal Touch: This is where the fun really begins! Use your chosen decorations to personalize your cork board. Ribbons can be wrapped around the frame, buttons can be glued on for a playful touch, and washi tape can create colorful patterns. Feel free to experiment and let your creativity shine!

Tips & Variations
- Size Matters: Consider the size of your space and how much you need to pin up. Smaller boards are great for entryway keys and mail, while larger boards are perfect for home offices.
- Shape it Up: Don’t limit yourself to a rectangular frame! Circular, hexagonal, or even custom-shaped frames can add a unique touch.
- Fabric Fun: Choose a fabric that complements your home décor. Burlap, canvas, or even patterned fabric can add personality.
- Magnetic Board Hybrid: Consider adding a thin layer of metal sheeting under the cork for a magnetic board as well!

Conclusion
Creating your own DIY cork board is a rewarding project that adds both style and functionality to your home. With a few simple materials and a little creativity, you can transform a plain frame into a beautiful and organized space. So gather your supplies, unleash your inner crafter, and start organizing in style!