DIY Floating Shelves: A Modern Home Decor Upgrade
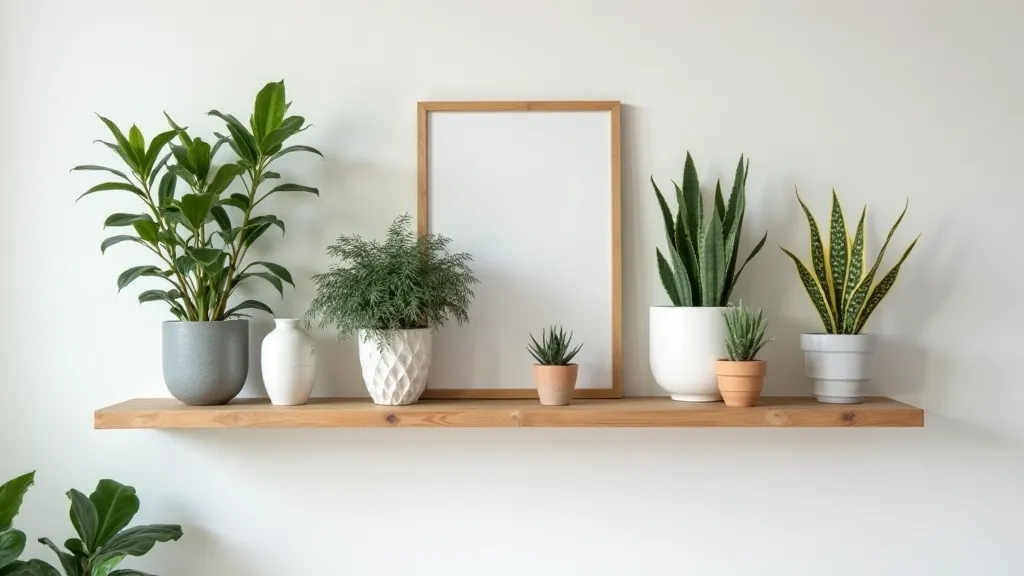
Add a modern touch to any room with these easy-to-build floating shelves! Whether you're looking to maximize space or simply want to elevate your decor, these shelves offer a stylish and functional solution. This comprehensive tutorial provides simple instructions, a materials list, and detailed photos for creating stylish and functional shelves perfect for displaying plants, books, or decorative items. Suitable for all skill levels, this project offers a rewarding and affordable way to enhance your home decor. Create a custom storage solution with this easy-to-follow guide.
What You'll Need
Materials List
- One 8-foot length of 1x8 inch lumber (pine, poplar, or your preferred wood)
- Two 16d wood screws
- Wood glue
- Sandpaper (120 and 220 grit)
- Wood stain or paint (optional)
- Polyurethane or varnish (optional)
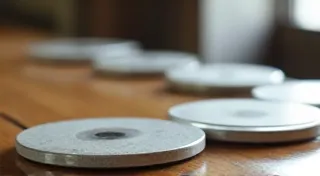
- Shelf brackets (hidden floating shelf brackets - quantity depends on the length of your shelves)
Tools Required
- Measuring tape
- Pencil
- Saw (hand saw, circular saw, or miter saw)
- Drill with drill bits
- Screwdriver
- Safety glasses
- Dust mask
Step-by-Step Instructions
Safety First: Always wear safety glasses and a dust mask when cutting and sanding wood.
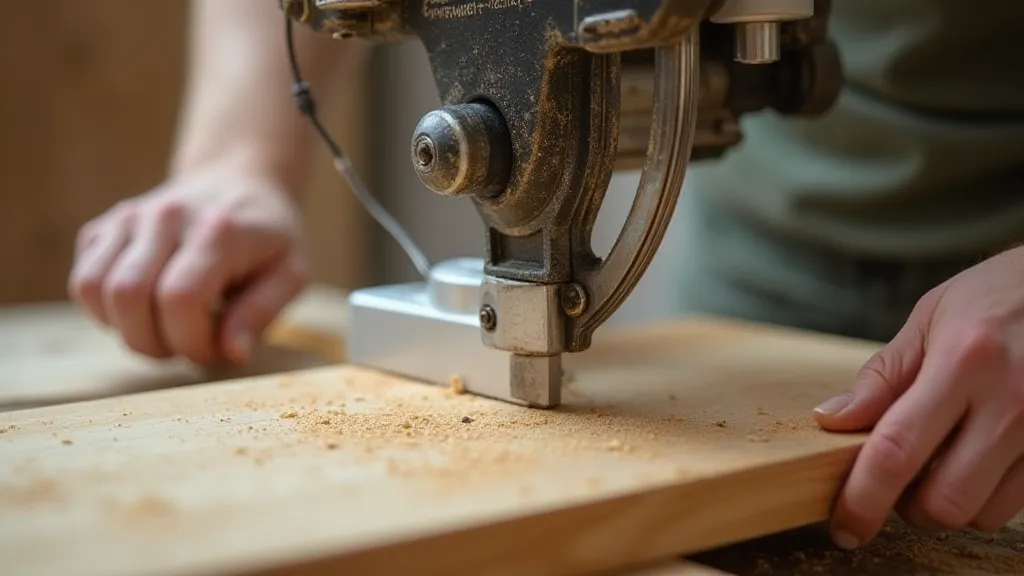
Step 1: Cutting the Wood
Determine the desired length of your floating shelves. Common lengths range from 24 to 48 inches. Use a measuring tape and pencil to mark the wood according to your chosen lengths. Use a saw to carefully cut the wood into the desired shelf lengths. Precision is important for a clean look!
Step 2: Sanding the Shelves
Use 120-grit sandpaper to smooth any rough edges and surfaces. Follow up with 220-grit sandpaper for an even smoother finish. Sanding is crucial for a professional-looking result. Remove all dust with a clean cloth.
Step 3: Staining or Painting (Optional)
If desired, stain or paint your shelves to match your existing décor. Apply the finish according to the manufacturer's instructions. Allow the finish to dry completely before proceeding.
Step 4: Installing the Brackets
This is the most crucial step for that ‘floating’ look! Carefully measure and mark the locations for your floating shelf brackets on the wall. Use a level to ensure the brackets are perfectly horizontal. Attach the brackets securely to the wall studs using appropriate screws. *Note: if you can't find studs, use appropriate wall anchors.*
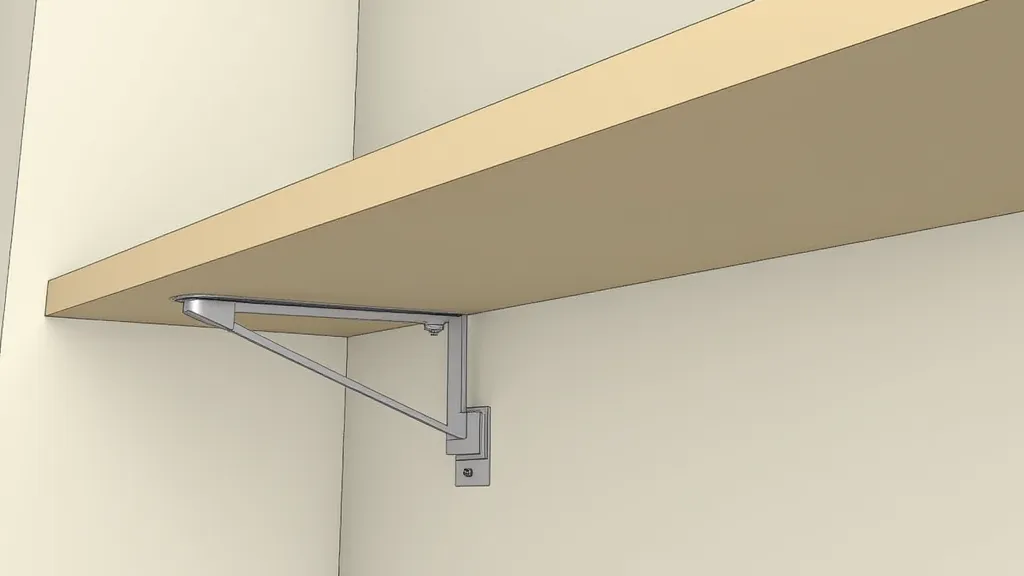
Step 5: Attaching the Shelves
Carefully align the shelves with the installed brackets. Gently slide the shelves onto the brackets, ensuring they are fully seated. The brackets should hold the shelves securely in place. For extra stability, you can add a small amount of wood glue between the shelf and the bracket (though this will make removal more difficult).
Step 6: Final Touches
Step back and admire your handiwork! Add your favorite books, plants, or decorative items to your new floating shelves. Enjoy your modern home decor upgrade!
Tips & Tricks
- For longer shelves, use more brackets for increased support.
- Consider using different wood types for a more rustic or modern look.
- Don't be afraid to experiment with different colors and finishes!
Conclusion
Building your own floating shelves is a fun and rewarding DIY project that can transform any room. With a little effort and these simple instructions, you can create a stylish and functional storage solution that perfectly complements your home décor. Happy building!