DIY Floating Shelves: A Beginner-Friendly Guide
Add storage and style to your home with these simple DIY floating shelves. This tutorial covers all the basics – from choosing the right materials to installation – perfect for beginners.
Introduction to Floating Shelves
Floating shelves are a fantastic way to add storage and a modern aesthetic to any room. They look effortlessly chic and are surprisingly easy to create, even if you’re new to DIY. Many homeowners are seeking ways to personalize their spaces, moving away from mass-produced items towards handmade touches. This guide will walk you through each step, ensuring you have everything you need for a successful project.
Materials You'll Need
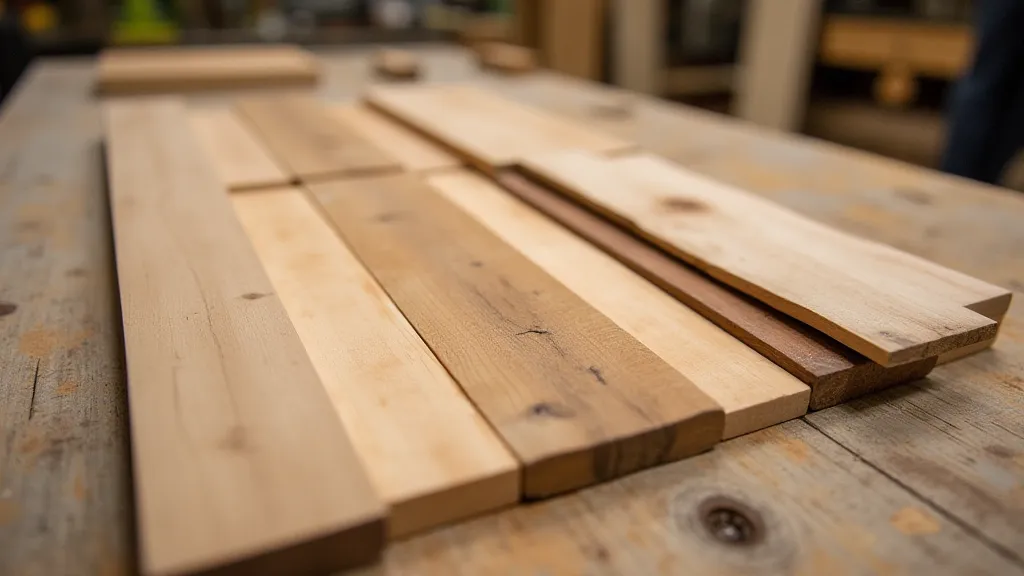
- Wood: Pine, poplar, or your preferred wood type. Consider the thickness and width based on the load you intend to place on the shelves. (Approximately 1" x 8" x Desired Length).
- Floating Shelf Brackets: These are crucial for the "floating" effect. Choose brackets appropriate for the size and weight capacity of your shelves.
- Screws: Wood screws suitable for attaching the brackets to the shelves and mounting the shelves to the wall.
- Wood Glue: For added stability, especially if using multiple pieces of wood for a wider shelf.
- Sandpaper: Various grits (120, 220) for smoothing the wood.
- Wood Stain or Paint: Your choice of finish.
- Primer (optional): If painting.
- Drill with drill bits
- Level
- Tape Measure
- Safety Glasses
- Pencil
Step-by-Step Instructions
1. Prepare the Wood
Start by cutting your wood to the desired length for each shelf. Sand the wood thoroughly, starting with a coarser grit (120) and finishing with a finer grit (220) for a smooth surface. If you're joining multiple pieces of wood to create a wider shelf, apply wood glue along the joining edges and clamp them securely until dry. For a more personalized touch, consider how your new shelves will complement other handmade accents in your space. Creating a DIY concrete coasters, for instance, is another simple way to add a modern feel to your home.
2. Finishing Your Shelves (Staining or Painting)
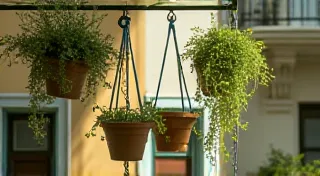
Now it’s time to add some color and protection. If you're staining, apply the stain according to the manufacturer's instructions. If you’re painting, apply a coat of primer followed by two coats of paint, allowing each coat to dry completely between applications. The finishing process is essential not just for aesthetics, but for longevity. Think about how you might use these skills to tackle other projects, like a stylish DIY macrame plant hanger to add a touch of bohemian flair to your decor.
3. Attaching the Brackets
Once the finish is dry, it's time to attach the floating shelf brackets to the underside of each shelf. Use wood screws of the appropriate length to securely fasten the brackets. Ensure the brackets are evenly spaced along the shelf’s underside.
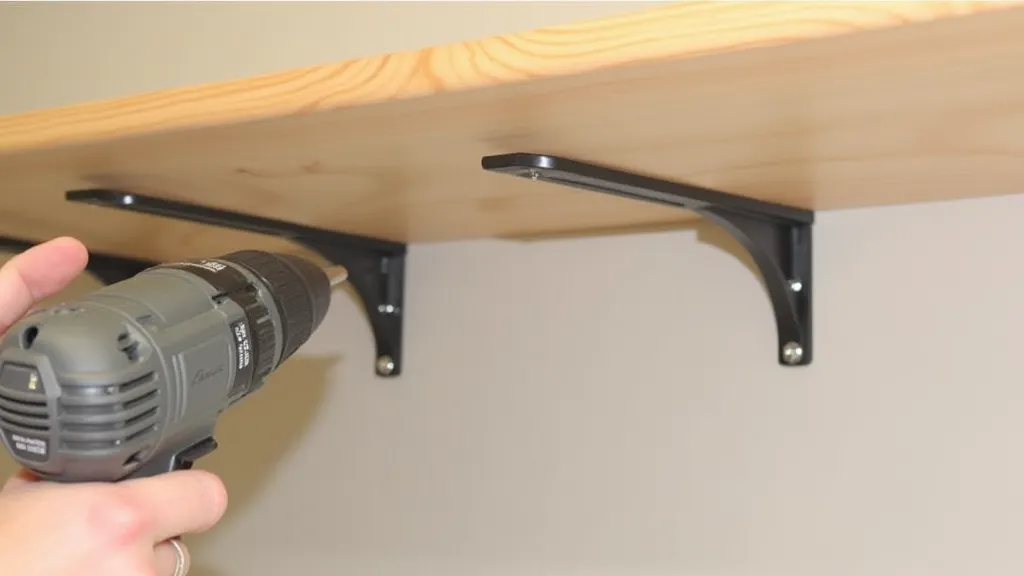
4. Installation – Mounting to the Wall
This is the most important step – ensure your shelves are securely mounted to the wall! Use a level to mark the desired locations for the shelves. Pre-drill holes in the wall where the brackets will be anchored. Use appropriate wall anchors if you're not screwing directly into studs. Securely fasten the brackets to the wall using screws. Finding studs is ideal for maximum support, but if not possible, ensure your wall anchors are rated for the intended weight.
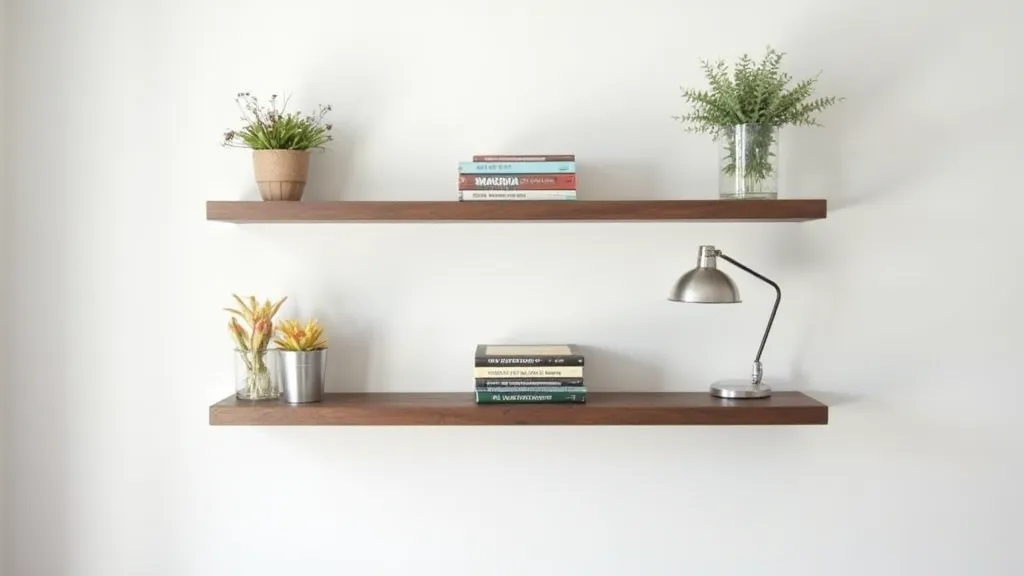
5. Final Checks and Adjustments
Double-check that your shelves are level and securely attached. Adjust as needed. Step back and admire your handiwork – you’re now the proud owner of beautiful, handmade floating shelves! These projects allow you to express your creativity. Adding some personalized wall decor, such as a map from The Cartographer's Atelier, can really tie the room together.
Tips & Troubleshooting
- Weight Capacity: Always consider the weight capacity of your brackets and wood. Don't overload your shelves.
- Stud Finding: Locating wall studs provides the strongest support.
- Leveling: Take your time and use a level for accurate placement.
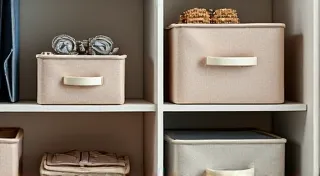
- Organization: Beyond storage, floating shelves can be part of an overall organizational system. If you’re looking for more creative storage solutions, consider how you could adapt this project to create a DIY cork board to keep your space clutter-free.
Expanding Your DIY Skillset
Creating floating shelves isn't just about adding storage; it's a gateway to a world of DIY possibilities. Many of the skills you gain – measuring accurately, sanding for a smooth finish, understanding wood types, using power tools safely – are transferable to countless other projects. This is a great foundation for tackling more complex home improvement tasks.
Choosing the Right Wood
The type of wood you choose will significantly impact the look and feel of your shelves. Pine is a budget-friendly option that's easy to work with, but it can be a bit soft. Poplar is a step up in terms of durability and provides a smoother surface for finishing. Hardwoods like oak or maple offer exceptional strength and a beautiful grain pattern, but they can be more challenging to work with and more expensive. Consider the intended use of the shelves when making your selection.
Finishing Techniques
The finishing process is just as important as the construction itself. Staining allows the natural wood grain to shine through, while painting provides a more uniform and customizable look. If staining, always apply a wood conditioner beforehand to ensure even absorption. When painting, use a high-quality primer to seal the wood and provide a better surface for the paint to adhere to. Consider a protective topcoat, such as polyurethane, to increase the shelf’s resistance to scratches and moisture.
Conclusion
Creating your own floating shelves is a rewarding DIY project that adds both style and functionality to your home. With these simple steps, you can easily create unique and beautiful shelves that you’re proud to display. Remember to take your time, prioritize safety, and enjoy the process of transforming raw materials into something beautiful and useful. This is just the beginning of your DIY journey – embrace the possibilities and create a home that truly reflects your personal style.