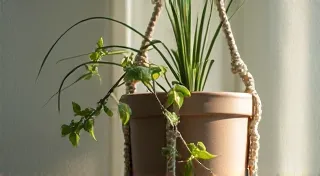
DIY Macrame Plant Hangers: A Boho Touch
Bring a bohemian vibe to your space with these DIY macrame plant hangers! Macrame, the art of knotting cord or rope into decorative patterns, is having a major comeback. And it's easier than you might think. This project is perfect for beginners, requires minimal materials, and adds a touch of relaxed elegance to any room. Let’s get started!
What You’ll Need
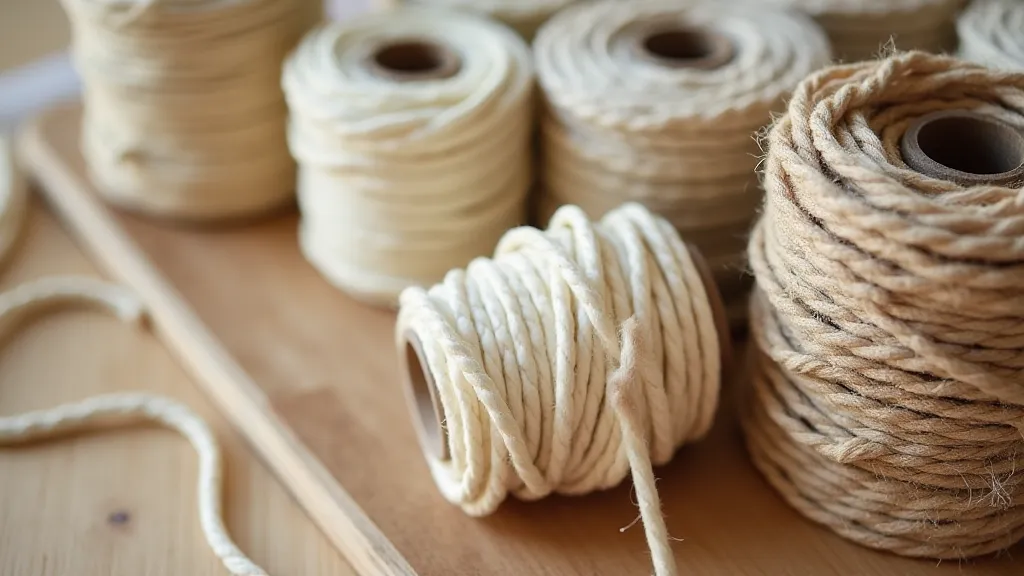
- Macrame Cord: Approximately 100-200 feet (depending on desired length and pot size. 3mm or 4mm thickness works well.)
- Scissors
- Measuring Tape or Ruler
- Plant Pot: (Choose the pot you want to hang – size will influence cord length)
- Ring (Optional): A wooden or metal ring helps with hanging and provides structure.
The Basic Knots: Square Knot & Gathering Knot
These two knots are the foundation of most macrame projects, including our plant hanger! Don't worry, they're easy to learn. There are countless video tutorials online (search 'basic macrame knots') if you’re a visual learner. Practice these knots before you start your plant hanger – you’ll feel more confident!
The Square Knot
The square knot is the cornerstone. It is created from four strands. First, fold your cord in half. The folded end will be your working end, and the loose ends will become the 'tails'. With four strands, create two loops. Pass the left strand over the two middle strands and under the right strand. Then pass the right strand under the two middle strands and over the left strand. Pull tight. That’s one half of the square knot! Repeat this pattern to complete a full square knot.
The Gathering Knot
The gathering knot is used to secure the top of the hanger and create a loop for hanging. Simply wrap a separate piece of cord around the knotted strands, then weave the ends under the wrap, pulling tight to secure.
Let’s Build Our Plant Hanger!
Follow these steps to create your own beautiful macrame plant hanger:
- Cut Your Cord: You’ll need 8 strands of cord, each approximately 8-10 feet long (adjust based on desired length and pot size).
- Attach to Ring (Optional): Fold each strand in half, creating a loop at the center. Place the loops over a ring (if using) and secure.
- First Tier: Divide the strands into four groups of two. Tie a square knot about 2-3 inches below the ring (or starting point).
- Second Tier: About 4-5 inches below the first tier, tie another square knot, using strands from *adjacent* groups. This creates a diamond shape.
- Third Tier: Repeat the previous step, creating another square knot. Adjust the spacing based on the size of your pot.
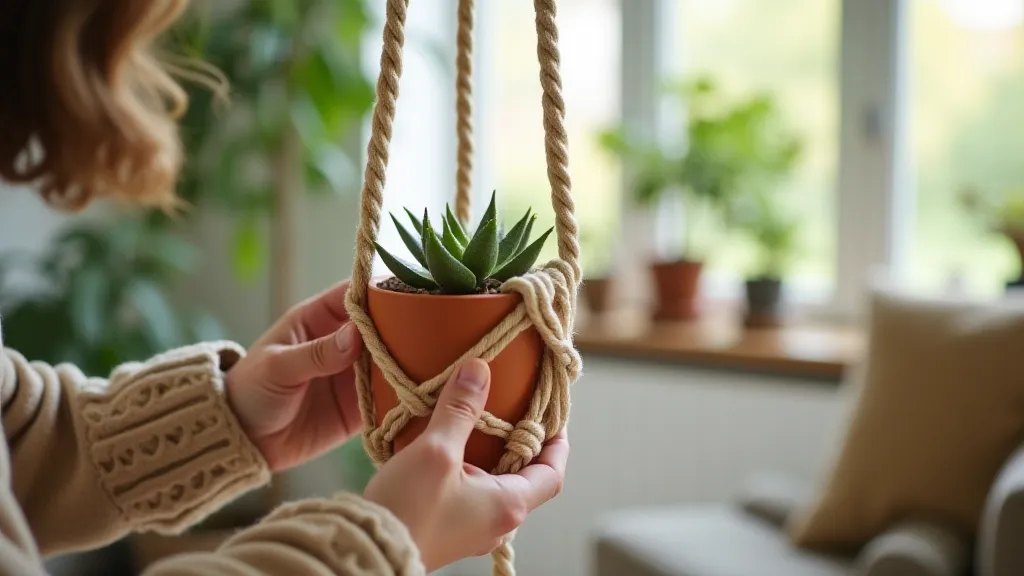
- Gathering the Pot: Carefully place your pot into the macrame 'basket' you've created. Gather the remaining strands below the pot.
- Final Knot: Tie a gathering knot tightly around all the strands below the pot to secure it.
- Trim the Tails: Trim the excess cord tails, leaving a fringe if desired.
Tips and Variations
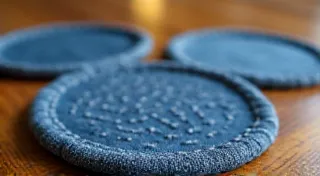
- Cord Choice: Experiment with different cord colors and materials. Jute, cotton, and hemp all create different looks.
- Beads: Incorporate wooden or glass beads for added visual interest.
- Different Knots: Once you’ve mastered the square knot, explore other macrame knots like the half hitch or spiral knot to create unique designs.
- Pot Size: Remember to adjust cord length and knot spacing based on the size of your pot.
Happy Crafting!
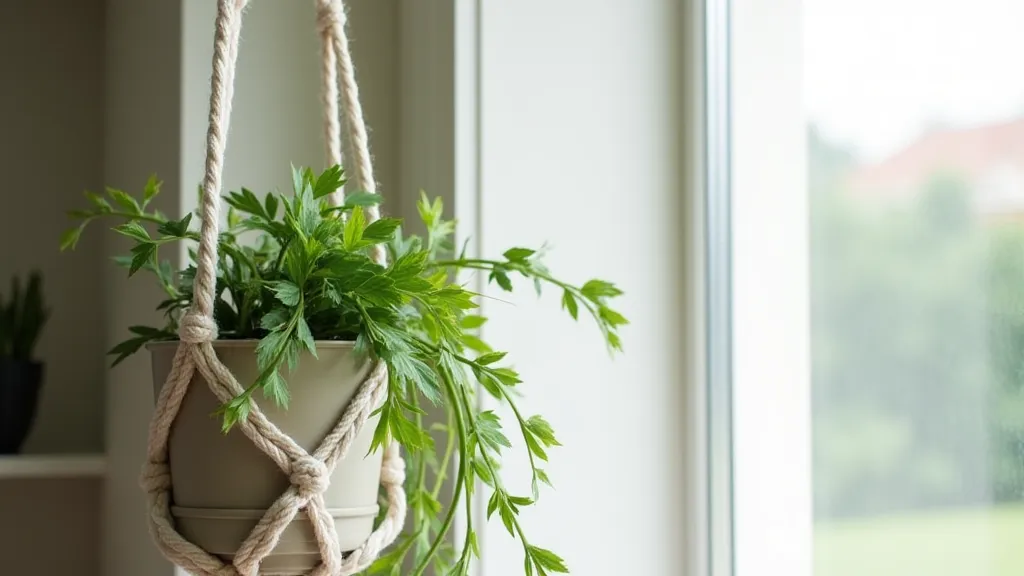
Creating your own macrame plant hanger is a rewarding and stylish DIY project. Embrace the process, have fun experimenting, and enjoy the bohemian charm it brings to your home!